Low Key | Lighting Setup #1

For our India Film Sound Guide we created this interview lighting setup to talk about what went wrong, so we decided to show how me set it up.


This video was Sponsored By

http://bit.ly/illuminate-pack - RocketStock’s light leak pack, "Illuminate", is sure to impress your viewers. Shot using digital cinema cameras in 4K, it’s an unbeatable way to lift your video to new, cinematic heights.

https://bit.ly/track-easy-roller - Click here to download this episode's track. Check out Premiumbeat.com to discover a huge range of exclusive royalty free music!


Low Key  Lighting Setup #1.jpg
Apture-HR672c.jpg

DISCLAIMERS:

Some of these links are affiliate links, if you purchase gear via these links The Film Look will receive a small commission, but there will be no additional cost to you. Thank you!

Store your Light Stands using Bungee Cords

Light stands. We have more than we need, and certainly have more than we can comfortably store in our micro-sized studio.

We needed a way to utilise the space, storing the light stands so they aren't taking up much room while keeping them on-hand and easy to grab.

We came up with a pretty good solution.

As you can see our studio is pretty small. Because of this, we have tried our best to not buy anymore bulky storage shelves like this one here.

The-Film-look-Studio.jpg

Piling up light stands in the corner is messy and they usually fall over. Lining them up against the back wall behind the door does use that space effectively but we would knock over the light stands whenever we opened the door.

So we needed a way to brace them against the door. How about bungie cords? They are strong, elastic, multi-functional, and come in a bunch of colours and sizes.

By drilling in a strong wall plug and screwing in hooks on each side, we can string the bungie cords across the wall and give the light stands a wall support.

Store-your-Light-Stands-using-Bungee-Cords.jpg

The hooks stand no further out of the wall than the light stands so they aren’t intrusive, they are tight enough to hold them in place without them falling over, and elastic enough for easy access to the stands.

We liked this setup so much we added another one on this wall here (ref: on screen). We use it to store mic stands, tripods, gel bags, pretty much anything that is long and thin.

Something like this keeps our micro-studio tidy and just that little bit bigger.


This video was Sponsored By

http://bit.ly/track-funk-fever - Thanks to PremiumBeat for providing the music for this week's episode. Check out Premiumbeat.com to discover a huge range of exclusive royalty free music!


Store your Light Stands using Bungee Cords

DISCLAIMERS:

Some of these links are affiliate links, if you purchase gear via these links The Film Look will receive a small commission, but there will be no additional cost to you. Thank you!

Hand Drawn Animated Lower Thirds

Some lower thirds can be a bit slate. We wanted something a bit different for the vlogs, so I grabbed a whiteboard, a pen, and used a little post-production magic.

Firstly you’ll need a whiteboard. Place it somewhere it is going to get a lot of light, or if you have some lights, blast them at the whiteboard as evenly as you can.

Animated-Lower-Thirds.jpg

We want to overexpose the image of the whiteboard until it goes completely white. When we invert the footage in post-production it will go completely black which means we can utilise blending modes that turn the black pixels transparent, revealing the layer beneath it whilst retaining the pen strokes.

Because we are inverting the image, you will have to take into account that all of your colours will invert too. A black pen will turn white, a red pen will turn green, etc. etc.

You can find out which colour you will need by searching for complementary colours and finding the inverse.

Then it’s a case of hitting record and drawing out what you need.

In the editor, layer your whiteboard art clip above your footage, invert it, and then change the blending mode to lighten, screen, or colour dodge. Have a play about and find the right blending mode for your project.

Animated-Lower-Thirds-Blend-Mode.jpg

This can be used for lower thirds, title cards, transitions, and loads more. You don’t always have to shoot video – you can even do it with stills if you wanted something static.

There is a link in the description where you can download all of the samples I have made to use in your projects.

Simple stuff really, but if you want something a bit more practical and different, it’s a pretty cool visual element that we certainly going to use in our vlogs and even offer our clients.

You can download these Lower Thirds from our store for free.


This video was Sponsored By

http://bit.ly/synergy-pack - If you need some sweet corporate video elements, check out "Synergy" by Rocket Stock! Head over to RocketStock.com for professional assets for your next video!

http://bit.ly/track-brooklyn-drive - Thanks to PremiumBeat for providing the music for this week's episode. Check out Premiumbeat.com to discover a huge range of exclusive royalty free music.


Hand Drawn Animated Lower Thirds

DISCLAIMERS:

Some of these links are affiliate links, if you purchase gear via these links The Film Look will receive a small commission, but there will be no additional cost to you. Thank you!

Story in a Can #6 | "Steak Knife"

In each can there are 20 locations, 20 objects, 20 characters, and 20 scenarios. We pick one from each of the cans and try to come up with a film idea on the spot. Sometimes they are bad, but sometimes we turn the idea into a film.

In Story In a Can #9 Rob and Emily have to make a story about a Character who is a Single Father, a location of a Night Club, an object of a Steak Knife, and a scenario of the Car won't Start?

Watch the video to see what story was made.


DISCLAIMERS:

Some of these links are affiliate links, if you purchase gear via these links The Film Look will receive a small commission, but there will be no additional cost to you. Thank you!

Micro Documentary Breakdown

In this video we breakdown how we made our micro documentary Undeveloped. If you want to watch Undeveloped you can find it below.


This video was Sponsored By

http://bit.ly/track-solid - Thanks to PremiumBeat for providing the music in this week's video. Check out Premiumbeat.com to discover a huge range of exclusive royalty free music.


Micro Documentary Breakdown.jpg

DISCLAIMERS:

Some of these links are affiliate links, if you purchase gear via these links The Film Look will receive a small commission, but there will be no additional cost to you. Thank you!

Behind the Scenes | Indie Film Sound Guide

Now the Indie Film Sound Guide is over we wanted to share our thoughts about what went well, and how we messed up.

The Indie Film Sound Guide is a step by step series teaching you all of the basics to achieve better audio for your films. This includes preparation, recording, and mixing. The guide uses a scene shot specifically for the guide, and follows a proper workflow from start to finish. This is everything you will need to know to start recording great sound for your short film!

Anything we didn't cover? Leave us a comment and we'll create a wrap up episode at the end of the guide, answering any questions we missed!

More tips in the video.

The Indie Film Sound Guide is a step by step series teaching you the basics of recording sound on set.

Episodes released weekly:

Introduction: https://youtu.be/NzmDV5Z9c_o

The Scene: https://youtu.be/dGD8pIOx2ls

Positioning: https://youtu.be/1Ki442J5hUk

Dialogue: https://youtu.be/X8YPFNYgu8s

Minimise Noise: https://youtu.be/e6MEJd_rGvI

Gain & Room Tone: https://youtu.be/U5MJvJ9_guQ

Wild Takes: https://youtu.be/Ci9RIH5d1ew

Organise & Sync: https://youtu.be/ZyVvwsWQIwk

Mixing: https://youtu.be/7x5SnoftgUw


Behind the Scenes  Indie Film Sound Guide.jpg

DISCLAIMERS:

Some of these links are affiliate links, if you purchase gear via these links The Film Look will receive a small commission, but there will be no additional cost to you. Thank you!

The Cavalry isn't Coming | Let's Talk #3


This week we talk about the cavalry and why they aren't coming. We made this video because we watched Mark Duplass video from SXSW and wanted to share it with you. His keynote can be found below.


DISCLAIMERS:

Some of these links are affiliate links, if you purchase gear via these links The Film Look will receive a small commission, but there will be no additional cost to you. Thank you!

Mixing | Episode 8: Indie Film Sound Guide

The Indie Film Sound Guide is a step by step series teaching you all of the basics to achieve better audio for your films. This includes preparation, recording, and mixing. The guide uses a scene shot specifically for the guide, and follows a proper workflow from start to finish. This is everything you will need to know to start recording great sound for your short film!

In this video we talk about what you have to do next once you have finished editing your film and you have a picture lock. This is when you start to make the sound of your film sound just as good as the look of your film. We are by separating each actors dialogue with in Adobe Audition, and set there level between -6dB and -24dB. Adding room tone will help to fill in any silence between dialogue.

Adding foley and sound effects is all done in the mixing process, so once you have re-recorded cups being put down, doors opening and footsteps you can add these into your edit.

Anything we didn't cover? Leave us a comment and we'll create a wrap up episode at the end of the guide, answering any questions we missed!

More tips in the video.

The Indie Film Sound Guide is a step by step series teaching you the basics of recording sound on set.

Episodes released weekly:

Introduction: https://youtu.be/NzmDV5Z9c_o

The Scene: https://youtu.be/dGD8pIOx2ls

Positioning: https://youtu.be/1Ki442J5hUk

Dialogue: https://youtu.be/X8YPFNYgu8s

Minimise Noise: https://youtu.be/e6MEJd_rGvI

Gain & Room Tone: https://youtu.be/U5MJvJ9_guQ

Wild Takes: https://youtu.be/Ci9RIH5d1ew

Organise & Sync: https://youtu.be/ZyVvwsWQIwk

Mixing: https://youtu.be/7x5SnoftgUw


Mixing  Episode 8 Indie Film Sound Guide
Mixing-Indie-Film-Sound-Guide.jpg

DISCLAIMERS:

Some of these links are affiliate links, if you purchase gear via these links The Film Look will receive a small commission, but there will be no additional cost to you. Thank you!

Organise and Sync | Episode 7: Indie Film Sound Guide

The Indie Film Sound Guide is a step by step series teaching you all of the basics to achieve better audio for your films. This includes preparation, recording, and mixing. The guide uses a scene shot specifically for the guide, and follows a proper workflow from start to finish. This is everything you will need to know to start recording great sound for your short film!

So you’ve finished shooting your film. You have a bunch of cards you need to unload onto the computer which contain the picture and sound elements for your movie. But before we start editing the footage and mixing the sound, let’s get all these files into a clear and precise structure, and synchronise the production audio to the shots.

Editing and mixing without a proper folder structure is an absolute nightmare. Files get saved in the wrong place, shots go missing, footage can’t get re-linked, and it just becomes a fighting battle.

It can get even worse if you’re working with multiple post production artists, all sharing the same files and muddling everything up when you bring it all back together.

To help alleviate some of that stress, I’ll show you the folder structure we like to use here at The Film Look, and I’ll also show you a handy application to create the structure in an instant!

Get yourself over to digitalrebellion.com and download their programme called Post Haste. It’s a free desktop app for managing projects, and has some great features.

Post-Haste-Folder-structure

Once you’ve got it downloaded, you’ll see this screen. They already have some awesome templates for a range of creative workflows, but we are going to design one from scratch specifically for organising short films for use with multiple artists, and hopefully prevent any unlinked and dodgy files in the future!

Let’s start off with the film’s root file, where absolutely everything for the film will be located. In order to keep files from going missing you must save everything used for the film inside this folder, even if that means duplicating some assets from graphics libraries, for example.

Keeping it all inside this folder means you can move the hard drive to another computer, open it up, and everything you need is already in the correct place.

Inside here we have project folders where all of the session save files will go. Inside these folders will be one for dragging old versions of save files to keep it tidy.

Next we have a media file. This is where all of the video and audio files will be transferred to, as well as any photos, graphical assets, and music used in the film.

Inside the video folder we have folders separated by each of the shooting dates. Inside the dated folders, transfer everything from each card you have into their own folders. This means copying all of the system files as well as the video and audio files. This is to ensure if anything goes wrong, you have the full image of the SD card if you need to transfer anything back over to the camera. Fingers crossed you never have to do this!

Having dates on the folders means you will know exactly what you shot on that day, and you are able to link the video dated folders with the audio dated folders.

The audio folder is similar to the video folder; everything is firstly dated then the whole card image is copied and pasted into their own audio folder.

Then there is a production documents folder for scripts, storyboards, shot lists and other documents like forms, permits, and contact information documents.

The last main folder in the structure is the export folder. Inside here is a folder for the film and scenes, and another for rendering out VFX sequences.

So now we have a folder structure, let’s make a bin structure inside your editor!

We are using Adobe Premiere for our projects; if you are too, you can find our Premiere Template in the description below. If you’re using something else, follow along and you can create and customise it to suit you!

Organise-and-Sync

First of all we will create a sequences bin; this is where you can save your main timeline, any duplicates if you want to save versions, and maybe even something like a selects sequence.  

Then we have an assets bin, which will hold all of the global music and graphical assets for the film.

Next is a media bin. Inside here will be a bin for the shooting date, inside here will be a bin for the video and audio, and an extra bin called Synced A\V.

When you have your footage imported and inside the correct dated folders, we will start to rename clips, synchronise the video and audio, and place them into the Synced A/V bins.

Go through each video clip and rename them to the mark written on the clapperboard at the start or end of the take. The audio will have an audible take with the same numbers and letters called out.

Some shots may have no audio to sync. And if you have recorded any wild takes, rename these according to the mark you can hear at the start of the take.

To synchronise and merge the audio and video takes, first of all double click on the video file to bring it into the source window. By clicking on the audio icon, it will display the waveform. Scrub along to the audio spike and bring the in-point right up the start of the spike. You can set an in-point by scrubbing to the point and hitting “I” on your keyboard.

Okay, half way there. Find the production audio of the same take, double click on it to bring it into the source window, and set the in-point just like the video file by hitting “I”.

Now that we have the in-points selected on both clips, hold control and click on both the video and audio files. Right click and go to Merge Clips, set the Synchronise Point to In Points, and check the box next to Remove Audio from AV clip. Checking this will get rid of the scratch audio and just use the good production audio. If you want both, uncheck this box.

Then place the newly merged file into the Synced A\V folder. Do this with all of the files, and you will have synchronised audio for your scene.

Now it’s time to edit!


Anything we didn't cover? Leave us a comment and we'll create a wrap up episode at the end of the guide, answering any questions we missed!

More tips in the video.

The Indie Film Sound Guide is a step by step series teaching you the basics of recording sound on set.

Episodes released weekly:

Introduction: https://youtu.be/NzmDV5Z9c_o

The Scene: https://youtu.be/dGD8pIOx2ls

Positioning: https://youtu.be/1Ki442J5hUk

Dialogue: https://youtu.be/X8YPFNYgu8s

Minimise Noise: https://youtu.be/e6MEJd_rGvI

Gain & Room Tone: https://youtu.be/U5MJvJ9_guQ

Wild Takes: https://youtu.be/Ci9RIH5d1ew

Organise & Sync: https://youtu.be/ZyVvwsWQIwk

Mixing: https://youtu.be/7x5SnoftgUw


Organise and Sync

DISCLAIMERS:

Some of these links are affiliate links, if you purchase gear via these links The Film Look will receive a small commission, but there will be no additional cost to you. Thank you!

Foley Art | Episode 6: Indie Film Sound Guide

The Indie Film Sound Guide is a step by step series teaching you all of the basics to achieve better audio for your films. This includes preparation, recording, and mixing. The guide uses a scene shot specifically for the guide, and follows a proper workflow from start to finish. This is everything you will need to know to start recording great sound for your short film!

Foley art is the reproduction of everyday sound effects that we are going to mix back into the film. For the scene we are using, these are things like clothing movement, Frank tapping on the table, coffee cups and saucers clattering, and hats coming on and off.

Without these sound effects, your film will lack a rich cinematic soundscape. It will feel unnaturally quiet and uncomfortable. Foley Art is what separates the men from the boys and women from the girls, and mixing Foley into your film is another step to creating the film look.

If you have been following this guide from the start, you have probably already recorded a bunch of wild takes for your scene. A lot of these will work great. But if there are any which don’t quite sound right, you can always add those elements to the list of sounds you can re-record as Foley.

So how do we go about recording Foley?

Find yourself a quiet room. A small room, preferably with carpets will work best. Hanging up any blankets and clothes to cover up walls will dampen any reverb you might get from the sound bouncing around the room.

Next you’ll need props and materials. In order to record the sound effects, use any objects which will create the noises you need.

With the materials gathered it’s time to imitate the actions in the scene to re-create the sound effects.  As a visual aid, you can export the edit of the scene and put it on a laptop or a phone. Playback the scene and do what the actors do.

Do this with all of the actions you can think of, several times. Like when recording wild takes, mark the track by yelling out what action it is you are re-producing. That way in the mix, you’ll know exactly what the sound is supposed to be.

Get the microphone as close as you can, and try to keep the gain lower than what you set it during the shoot. You will want to record the Foley very clean and with low noise. The sounds may be quieter than dialogue, and it might not hit really loud levels, but don’t worry. Just as long as the recording isn’t noisy and you have the microphone nice and close, this will work just fine.

After recording Foley, you should have everything you need to create a rich cinematic soundscape for your scene. You might have to source some sound effects online, but if you can re-produce them yourself, it’s always the better option.


Anything we didn't cover? Leave us a comment and we'll create a wrap up episode at the end of the guide, answering any questions we missed!

More tips in the video.

The Indie Film Sound Guide is a step by step series teaching you the basics of recording sound on set.

Episodes released weekly:

Introduction: https://youtu.be/NzmDV5Z9c_o

The Scene: https://youtu.be/dGD8pIOx2ls

Positioning: https://youtu.be/1Ki442J5hUk

Dialogue: https://youtu.be/X8YPFNYgu8s

Minimise Noise: https://youtu.be/e6MEJd_rGvI

Gain & Room Tone: https://youtu.be/U5MJvJ9_guQ

Wild Takes: https://youtu.be/Ci9RIH5d1ew

Organise & Sync: https://youtu.be/ZyVvwsWQIwk

Mixing: https://youtu.be/7x5SnoftgUw


Foley Art  Episode 6 Indie Film Sound Guide.jpg
Recording Foley.jpg

DISCLAIMERS:

Some of these links are affiliate links, if you purchase gear via these links The Film Look will receive a small commission, but there will be no additional cost to you. Thank you!

Story in a Can #5 | "The Cave"

In each can there are 20 locations, 20 objects, 20 characters, and 20 scenarios. We pick one from each of the cans and try to come up with a film idea on the spot. Sometimes they are bad, but sometimes we turn the idea into a film.

In Story In a Can #9 Rob and Rich have to make a story about a Character who is a Bar Tender, a location of a Cave, an object of a Someone Else's Wallet, and a scenario of a Nana Going Insane?

Watch the video to see what story was made.


DISCLAIMERS:

Some of these links are affiliate links, if you purchase gear via these links The Film Look will receive a small commission, but there will be no additional cost to you. Thank you!

Wild Takes | Episode 5: Indie Film Sound Guide

The Indie Film Sound Guide is a step by step series teaching you all of the basics to achieve better audio for your films. This includes preparation, recording, and mixing. The guide uses a scene shot specifically for the guide, and follows a proper workflow from start to finish. This is everything you will need to know to start recording great sound for your short film!

Let’s talk a bit about recording sound effects for your film. In particular, wild takes!

So far I talked about positioning, getting clean dialog, removing unwanted noises, and where to set your levels. Now comes the next thing on the list: recording wild takes!

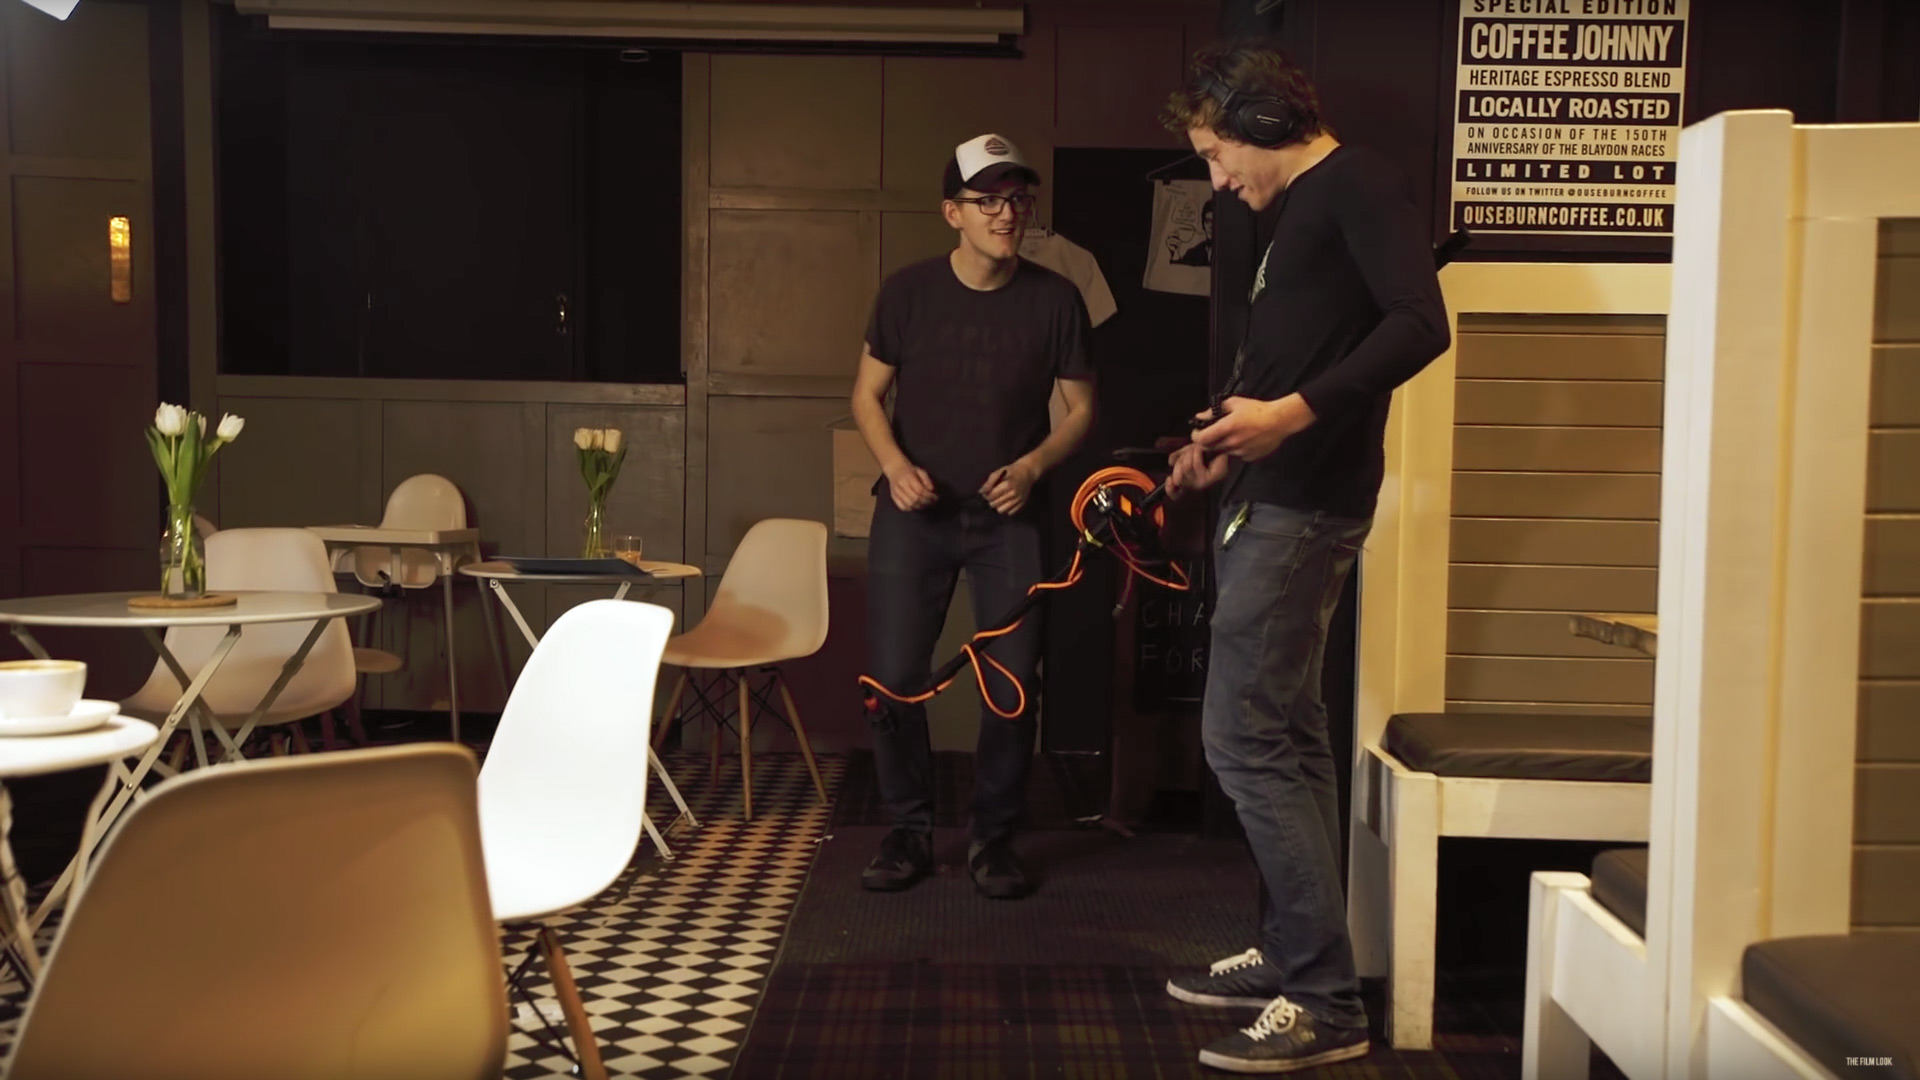
Wild takes are the process of recording sound on location without the cameras rolling. This means you can get a lot closer to certain things and record crisp, clear sound effects. We will go through recording sound effects later on in post-production known as Foley Art, but right now, we are going to grab as many sound effects as we can here on set.

There might be some sound effects which are very difficult to re-produce, such as the sound of machinery, locks, doors, and footsteps on particular surfaces.

Grabbing these sounds on location means you won’t have to go trawling the internet for the perfect door latch sound effect!

We will record furniture, clothing, tapping, and cups and glasses later on as they are a lot easier to get right in post, and it will save time on set.

So, record your wild takes at, or lower than, your scene’s gain cap. If the sound you are recording is quiet even at the gain cap, don’t worry! You don’t need to rack your gain right up to record it loud, because it’s likely going to be mixed quietly in the edit anyway.

You will want to record at least five or six takes of each sound effect, all from different angles, positions, distances, and even direct and non-direct recording.

Having more to choose from later on will help a lot when mixing. Something recorded at a different angle can sound quite a bit different, and sometimes it sounds a lot more realistic and cinematic too. So make sure to record a range of each sound effect so you can choose the best later on.

When you start recording, mark the take by clearly stating what action is being performed, and if it’s from a different angle, state that too. In editing, you will be able to listen to the start of the audio and know exactly what it is.

So now you should have: a well-positioned microphone recording clear and loud dialog, you should have eliminated any unwanted noises and sound effects during the dialog takes, a gain cap with room tone, and a library of sound effects to layer into the scene.


Anything we didn't cover? Leave us a comment and we'll create a wrap up episode at the end of the guide, answering any questions we missed!

The Indie Film Sound Guide is a step by step series teaching you the basics of recording sound on set.

Episodes released weekly:

Introduction: https://youtu.be/NzmDV5Z9c_o

The Scene: https://youtu.be/dGD8pIOx2ls

Positioning: https://youtu.be/1Ki442J5hUk

Dialogue: https://youtu.be/X8YPFNYgu8s

Minimise Noise: https://youtu.be/e6MEJd_rGvI

Gain & Room Tone: https://youtu.be/U5MJvJ9_guQ

Wild Takes: https://youtu.be/Ci9RIH5d1ew

Organise & Sync: https://youtu.be/ZyVvwsWQIwk

Mixing: https://youtu.be/7x5SnoftgUw


Wild Takes  Episode 5 Indie Film Sound Guide.jpg
Recording Wild Takes.jpg

DISCLAIMERS:

Some of these links are affiliate links, if you purchase gear via these links The Film Look will receive a small commission, but there will be no additional cost to you. Thank you!