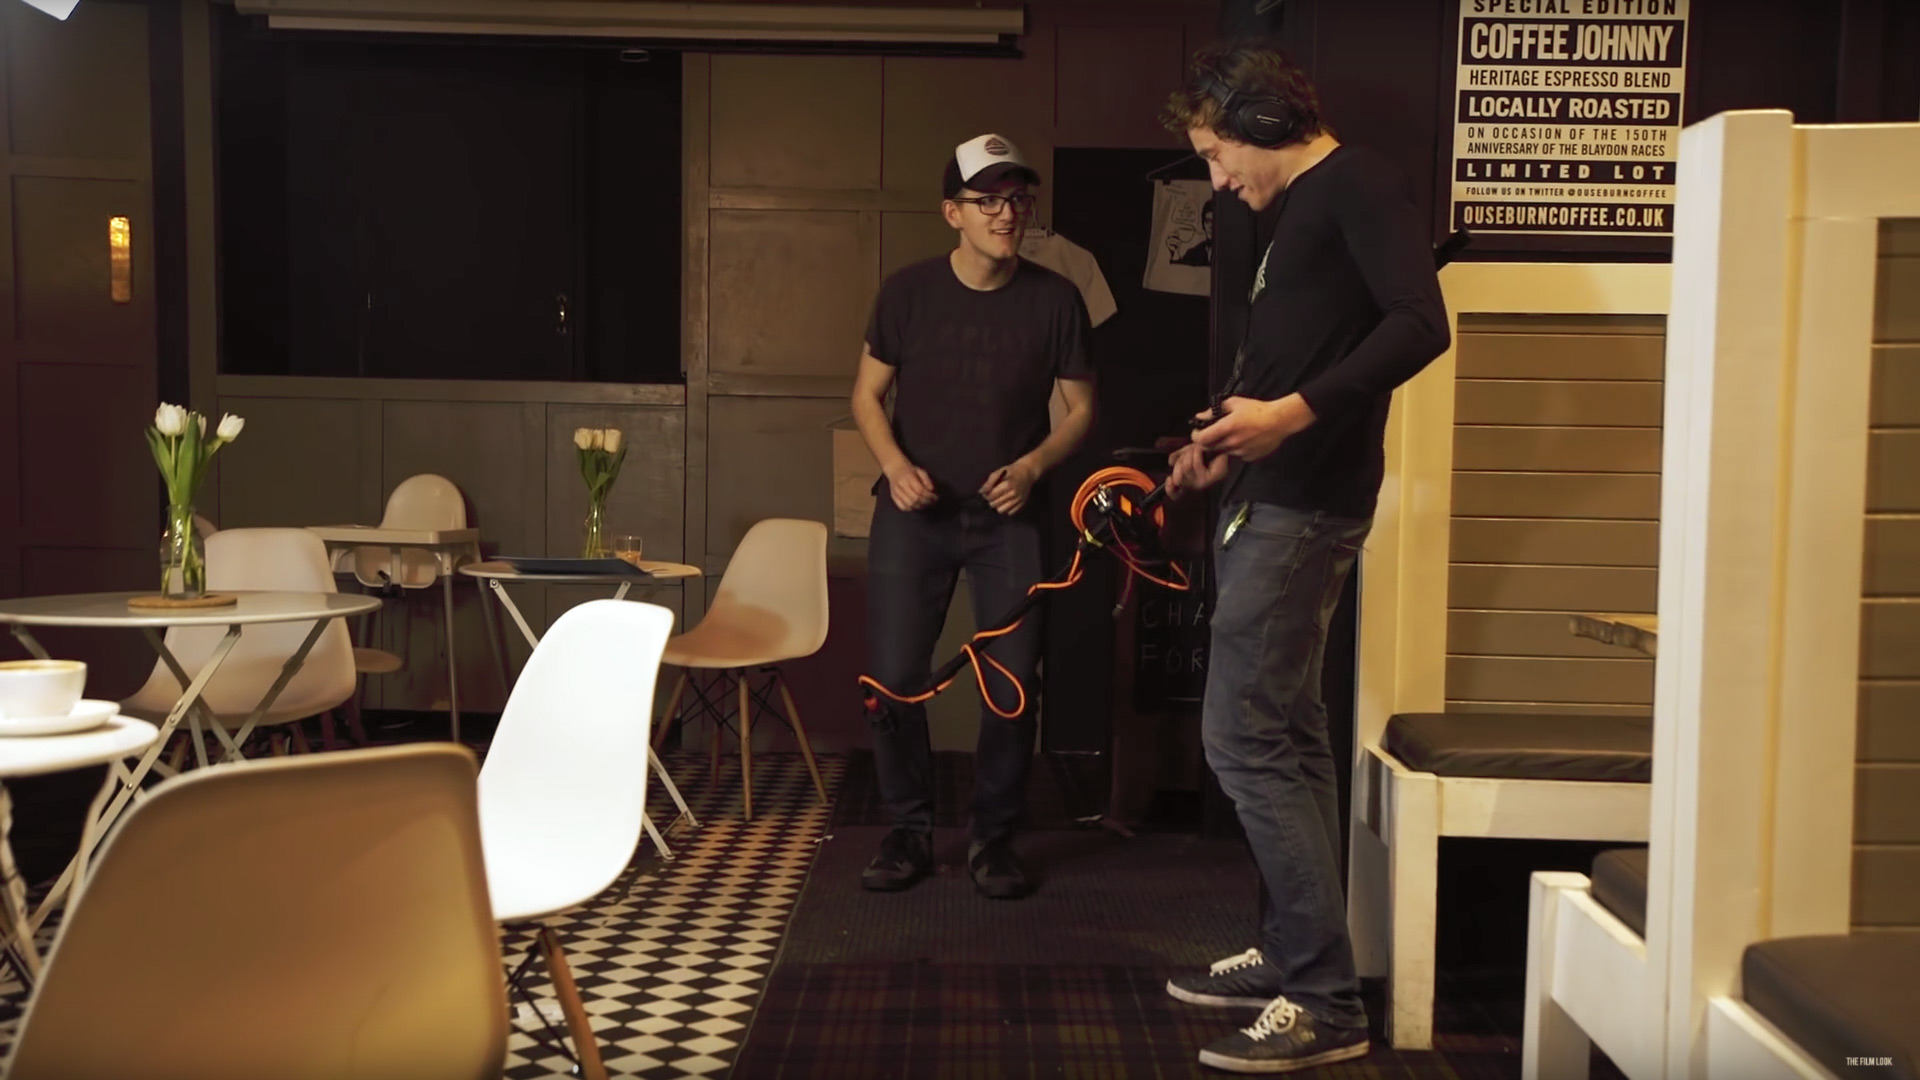
The Indie Film Sound Guide is a step by step series teaching you all of the basics to achieve better audio for your films. This includes preparation, recording, and mixing. The guide uses a scene shot specifically for the guide, and follows a proper workflow from start to finish. This is everything you will need to know to start recording great sound for your short film!
Let’s talk a bit about recording sound effects for your film. In particular, wild takes!
So far I talked about positioning, getting clean dialog, removing unwanted noises, and where to set your levels. Now comes the next thing on the list: recording wild takes!
Wild takes are the process of recording sound on location without the cameras rolling. This means you can get a lot closer to certain things and record crisp, clear sound effects. We will go through recording sound effects later on in post-production known as Foley Art, but right now, we are going to grab as many sound effects as we can here on set.
There might be some sound effects which are very difficult to re-produce, such as the sound of machinery, locks, doors, and footsteps on particular surfaces.
Grabbing these sounds on location means you won’t have to go trawling the internet for the perfect door latch sound effect!
We will record furniture, clothing, tapping, and cups and glasses later on as they are a lot easier to get right in post, and it will save time on set.
So, record your wild takes at, or lower than, your scene’s gain cap. If the sound you are recording is quiet even at the gain cap, don’t worry! You don’t need to rack your gain right up to record it loud, because it’s likely going to be mixed quietly in the edit anyway.
You will want to record at least five or six takes of each sound effect, all from different angles, positions, distances, and even direct and non-direct recording.
Having more to choose from later on will help a lot when mixing. Something recorded at a different angle can sound quite a bit different, and sometimes it sounds a lot more realistic and cinematic too. So make sure to record a range of each sound effect so you can choose the best later on.
When you start recording, mark the take by clearly stating what action is being performed, and if it’s from a different angle, state that too. In editing, you will be able to listen to the start of the audio and know exactly what it is.
So now you should have: a well-positioned microphone recording clear and loud dialog, you should have eliminated any unwanted noises and sound effects during the dialog takes, a gain cap with room tone, and a library of sound effects to layer into the scene.
Anything we didn't cover? Leave us a comment and we'll create a wrap up episode at the end of the guide, answering any questions we missed!
The Indie Film Sound Guide is a step by step series teaching you the basics of recording sound on set.
Episodes released weekly:
Introduction: https://youtu.be/NzmDV5Z9c_o
The Scene: https://youtu.be/dGD8pIOx2ls
Positioning: https://youtu.be/1Ki442J5hUk
Dialogue: https://youtu.be/X8YPFNYgu8s
Minimise Noise: https://youtu.be/e6MEJd_rGvI
Gain & Room Tone: https://youtu.be/U5MJvJ9_guQ
Wild Takes: https://youtu.be/Ci9RIH5d1ew
Organise & Sync: https://youtu.be/ZyVvwsWQIwk
Mixing: https://youtu.be/7x5SnoftgUw
This video was sponsored By
Check out their website for some awesome tracks: https://www.premiumbeat.com/?utm_source=thefilmlook&utm_campaign=2017-thefilmlook&utm_medium=midroll&utm_content=indie-sound
DISCLAIMERS:
Some of these links are affiliate links, if you purchase gear via these links The Film Look will receive a small commission, but there will be no additional cost to you. Thank you!


