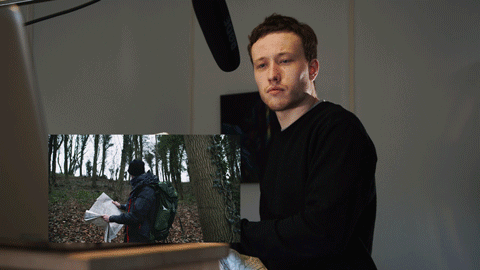
The Indie Film Sound Guide is a step by step series teaching you all of the basics to achieve better audio for your films. This includes preparation, recording, and mixing. The guide uses a scene shot specifically for the guide, and follows a proper workflow from start to finish. This is everything you will need to know to start recording great sound for your short film!
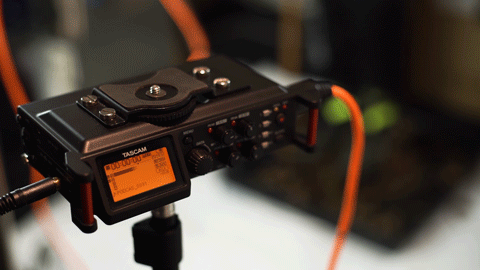
Most audio devices will have a way of manually choosing how sensitive your microphone is to sound. But where do you set your levels?
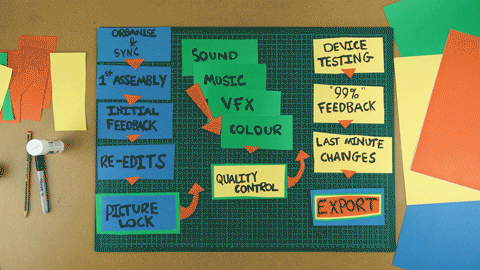
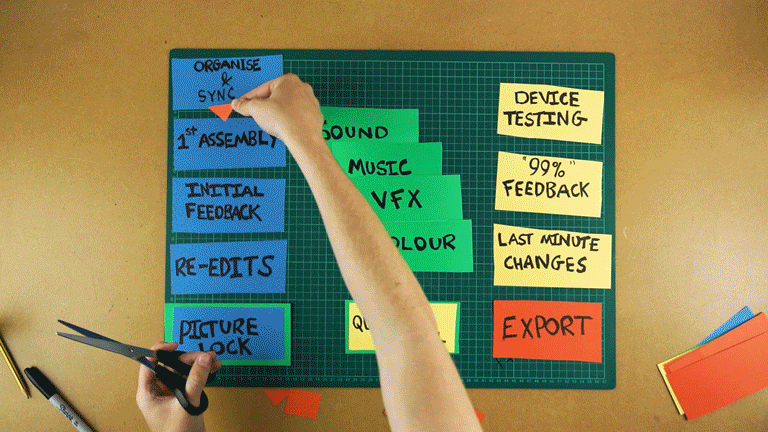
So far we have talked about getting in the right position, recording clean dialog takes, and removing any unwanted noises from your scene. If you want to catch up, episodes 1-3 are in the description.
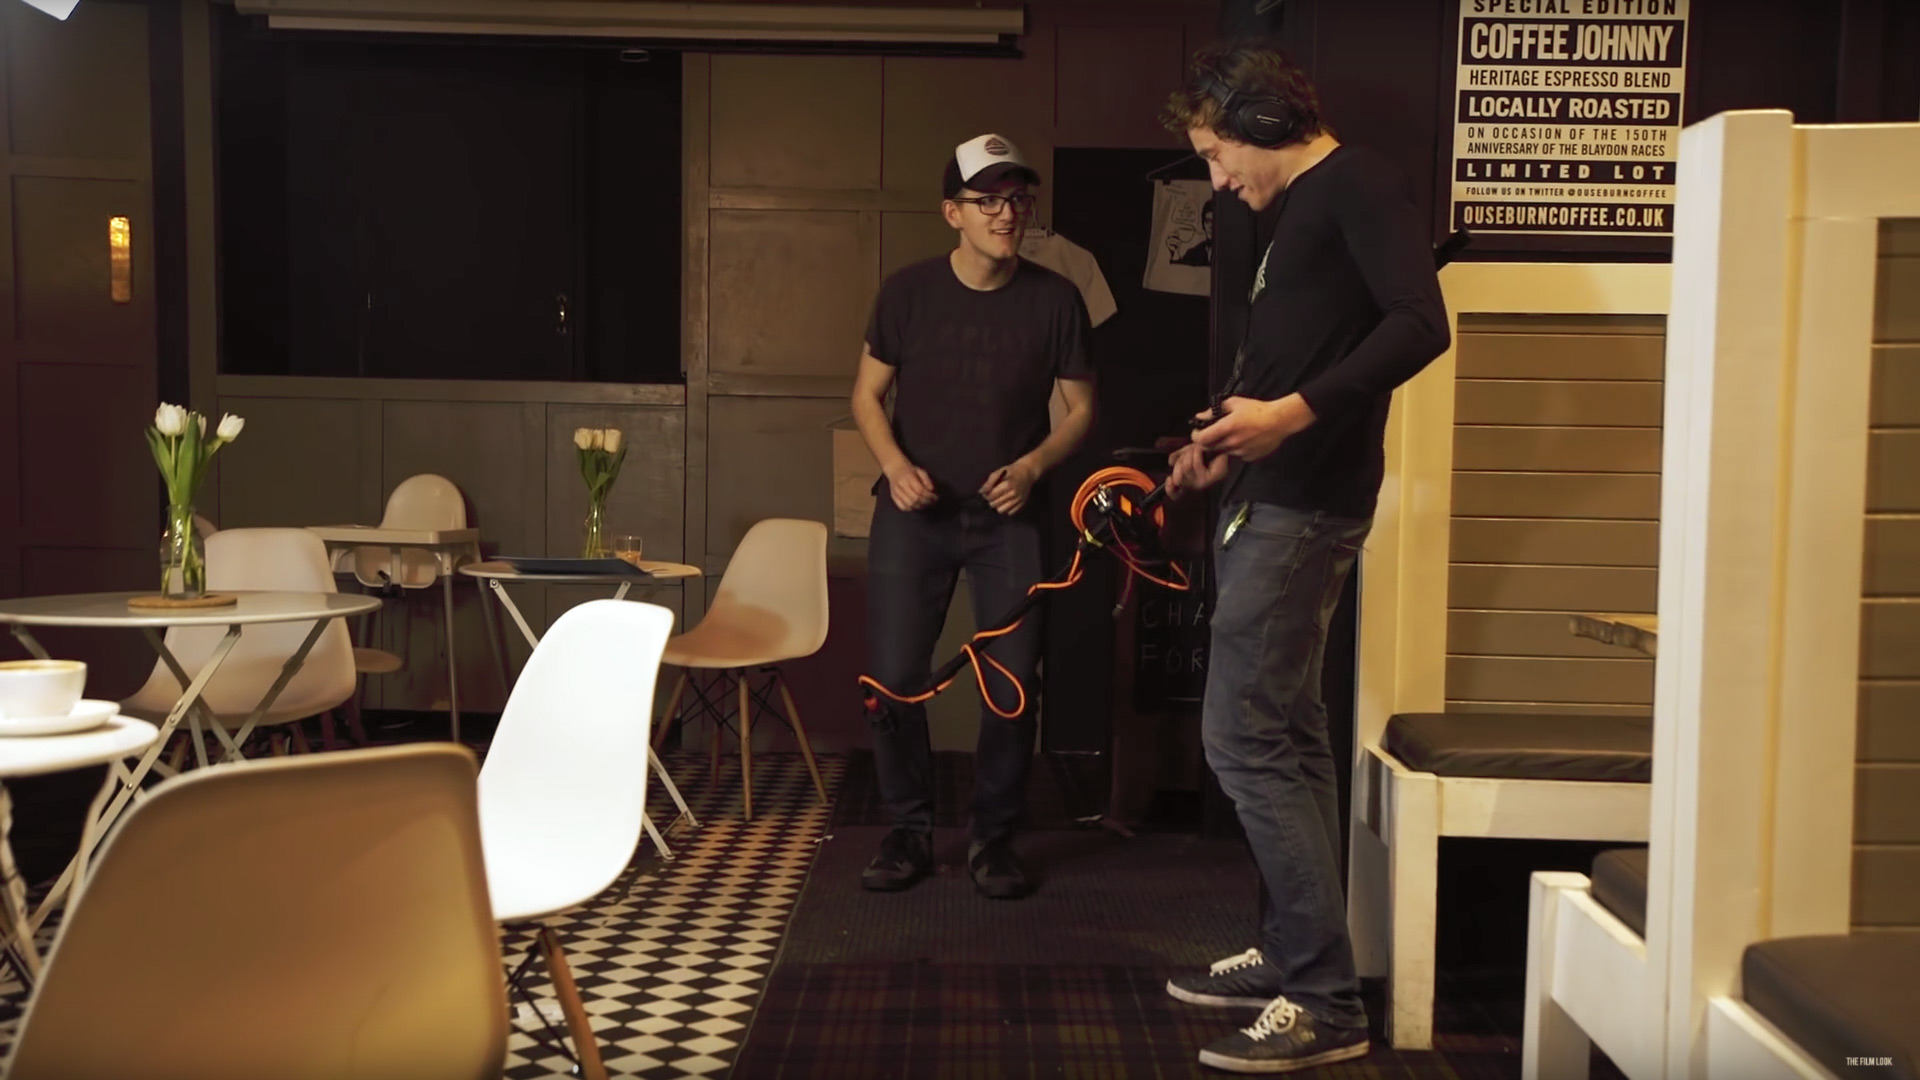
Let’s talk about where you should be setting your sound levels. The loudness of actors and their actions differ from scene to scene, and even take to take. So what I like to do is run through the scene with the director and the actors, sound kit at the ready, and study the sound levels.
Set your levels so you are getting loud and clear dialogue with a little bit of room from the top peak line just encase the sound gets a little louder. If you are risking your sound clipping during the dialog, your gain is probably set just a tad too high.
Once you find a comfortable loud and clear level, you shouldn’t have to adjust the gain above this for the rest of the scene. Make a mental note of the number your audio recorder is reading out – this is your scene’s gain cap. Going above this will only introduce more noise with no real benefit.
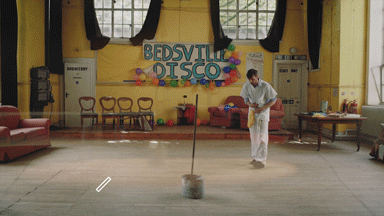
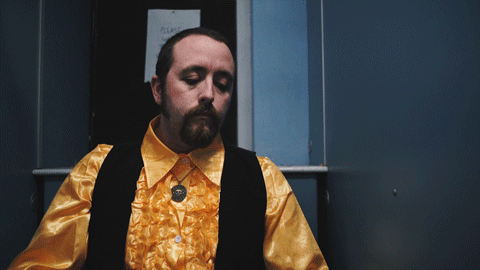
If an actor shouts in the scene, such as this example of Stu, your microphone will very likely be overdriven and the audio will distort. This is known as clipping.
Clipping your audio is just as frowned upon as overexposing your footage. You aren’t only recording something that sounds bad, but the information is now destroyed and can’t be recovered. No amount of tweaking will fix the distortion.
The solution to this is to lower the gain until you can record the shouting without it clipping.
Because you’ve brought the gain down in order not to clip the audio, it will have also lessened the amount of natural noise compared to the other takes which are set higher. So we will need to add that natural noise back in. You can do this using room tone.
Room tone is a recording of up to 2 minutes of nothing but complete room ambience, recorded at your scene’s gain cap.
Room tone is there to fill in any patches of silence when editing dialogue and sound effects. It is also used like a Band-Aid, to cover up any unwanted noises or if the director gives direction mid-take.
A good time to record your room tone is at the start of the shoot, just after you have found a good gain cap.
Recording it before you start rolling picture helps in a few other ways too. Firstly, you won’t forget it as its top of the list. Second, you aren’t making people wait around at the end of the day to capture it. And third, if there are any more unwanted noises you didn’t pick up on, you will likely hear them when you record it.
So, step four, set your gain cap and don’t go beyond it. Either lower the gain or move your microphone away if it clips. And don’t forget to record room tone!