Can #2 | "The Model Shoot"

In each can there are 20 locations, 20 objects, 20 characters, and 20 scenarios. We pick one from each of the cans and try to come up with a film idea on the spot. Sometimes they are bad, but sometimes we turn the idea into a film.

In Story In a Can #9 Rob and Rich have to make a story about a Character who is a Model, a location of a City Bridge, an object of Lip Balm, and a scenario of Shoot Out?

Watch the video to see what story was made.


DISCLAIMERS:

Some of these links are affiliate links, if you purchase gear via these links The Film Look will receive a small commission, but there will be no additional cost to you. Thank you!

Dealing with Criticism


Today we are going to talk about criticism: receiving feedback, giving feedback, how to do it constructively, and how not to take things personally.

Learning how to receive criticism is something we all go through as filmmakers, and at first it can sometimes feel like an attack.

If you are used to your friends and family telling you how great your short films are, and then someone comes along and steps on it, we tend to take it personally. I know I did!

Dealing-with-Criticism-1.jpg

But being told only positive things isn’t going to help us grow. Norman Vincent Peale is famous for saying “The problem with most of us is that we would rather be ruined by praise than saved by criticism”. That shallow desire for positive reinforcement is tempting, but it’s not helping us improve our work.

This is where constructive criticism comes in. As opposed to generic feedback, constructive criticism should contain helpful and specific suggestions for improvement and positive change.

Someone might rip your film to shreds. But if they give you alternatives, suggestions, different ways of execution, better ways of creating, you can take all that advice and apply it into your next film.

Personally, I love getting my film ripped to shreds. I want people to pick at it and destroy it, and from that destruction I can finally see the faults which I wouldn’t have noticed if people weren’t so aggressively helpful with their feedback.

But there is a difference between feedback for improvement and someone’s personal taste. Not everyone likes the same things, and sometimes a few suggestions based on their taste can be thrown in.

If you like something in your film, if you feel that certain element is crucial to your project and that changing it will change the film…then fight for it. It’s your film after all, and if you can justify your reason for a certain element, that is your right as a filmmaker.

All of this applies when you are the one giving feedback too. Remember how it felt to have your film attacked. If you are giving criticism, give some examples of how it can be improved. And talk about what you DID like in someone else’s film. 

Just because you are giving feedback, doesn’t mean you can’t praise the positives as well. It is quite often harder to do so because the positive elements are invisible in the film, but if you think “everything I see on screen has been crafted by individuals”, it can help put a spotlight on those invisible elements. 

Feedback isn’t just at the premiere of the movie either. Having someone read your script and give their opinion will help you see things you might not realise were there/or weren’t there.

During shooting, you have a team of people around you, why not use those individual brains and ask them their opinions are on the day. 

Sam Mendes says it plain and simple, “When you have a cast of 20, this means you have 20 other imaginations in the room with you. Use them.”,

Dealing-with-Criticism---Sam-Mendes.jpg

Post-production, have people look at your edit. It might be cut really tight, it looks awesome and flows well, to you. But to someone else, the geometry of the room might be off because it is missing a shot which you took out. A fresh pair of eyes on an edit can be invaluable. [Time-lapse someone editing]

And it’s not just filmmakers you should gain feedback from.

Sometimes asking for constructive feedback on your film from someone who isn’t a filmmaker can be tricky. The best thing to do in a situation like this is to ask them questions about it. “Can you tell me what you thought the film was about?”, “How did the pacing feel? Were there parts that were a slow or too fast?”, “How do you feel about this character?”.

Dealing-with-Criticism-2.jpg

Asking open questions to non-filmmakers will help them give you an answer without getting the response “Oh, it was good, I liked it.” You sometimes find that those who haven’t studied film don’t know WHY they liked or disliked certain pieces of a film, and by asking them open questions, they have a chance to really find an answer.

Dealing-with-Criticism3.jpg

What’s great about feedback from non-filmmakers is their unique viewpoint of it. To them, it isn’t a crafted piece of work, it’s simply entertainment. They aren’t looking at the shots, or listening out for sound effects, they just take it in. And if your film isn’t entertaining, it hasn’t succeeded in its most primal form. In some ways, it’s their opinion is all that matters.


Dealing with Criticism.jpg

DISCLAIMERS:

Some of these links are affiliate links, if you purchase gear via these links The Film Look will receive a small commission, but there will be no additional cost to you. Thank you!

Filmmaking Cliches: Should You Avoid Them?


Everybody wants to make unique and original films.

Nobody wants to be the person who made something predictable and cliché. But this sort of thinking can actually be detrimental. Instead of creating something you really love, you are putting all of your effort into making sure it ISN’T something!

In my personal opinion, I think cliché is something we should embrace in the early stages of our filmmaking careers.

Chances are, your new film is pretty similar to something someone has already made, and avoiding cliché is just another worry you don’t need to be concerned with.

Creating cliché or predictable films is a filmmaker’s way of stretching their muscles and trying out something they haven’t done before, using the existing material as a blueprint for a new exercise.

So in the spirit of this, we’ve compiled a list of indie film cliché moments. We’ve been guilty of many of these in the past, and we have even shot a few extras just for this video.


Filmmaking Cliches - Camera in the Fridge.jpg
Filmmaking Cliches - Zobie Movie.jpg
Filmmaking Cliches - Waking up.jpg
Filmmaking Cliches - No Story [Necuase Guns].jpg
Filmmaking Cliches - Unnecessary Travel Shots.jpg
Filmmaking Cliches - Lens Flares.jpg
Filmmaking Cliches - Melodrama.jpg
Filmmaking Cliches - Black & White.jpg
Filmmaking Cliches - Alcohol.jpg
Filmmaking Cliches - Dutch Tilt.jpg
Filmmaking Cliches - Blue Shadows.jpg
Filmmaking Cliches - Drugs.jpg
Filmmaking Cliches - Morning Routine.jpg
Filmmaking Cliches - Staring at your Reflection.jpg
Filmmaking Cliches - Shot from the trunk.jpg

If you’re having fun making your movie, and you’re learning a lot from the process, you’re making progress no matter what you’re shooting. You might not win any awards , but you’re one film closer to making your masterpiece.

Filmmaking Cliches Should You Avoid Them.jpg

DISCLAIMERS:

Some of these links are affiliate links, if you purchase gear via these links The Film Look will receive a small commission, but there will be no additional cost to you. Thank you!

Generating Story Ideas for your Film

Writers block can happen to the best of us. We don’t know when it will happen and we can rarely tell when it will end. But there are ways to tackle writers block, and one in particular is by forcing creativity using some sticky notes, an online word generator, and a little imagination.

Like we say a lot of the time, getting the film look is more than just camera settings and fancy shots. If your film doesn’t have a story, it won’t feel like a real film, and if you are struggling to get ideas for a story, you can use a technique we call “Story in a can”.

Story-in-a-Can.jpg

It’s a simple trick. You want to create 4 categories; character, location, object, and scenario. Using an online word generator, write out 20 of each category onto some paper, fold them up, and place them into some sort of container. We used 4 tin cans and labelled them. 

Then it’s a case of picking out one bit of paper from each can and creating a storyline using each category.

Story-in-a-Can-1.jpg

If every unique combination creates a different story, 20 to the power of 4 gives us 160,000 combinations…we think! We’re probably wrong, leave us a comment with the right answer.

Each item doesn’t have to be super detailed. We stuck to a few bog standard occupations for characters like teacher, bartender, and bank manager, and added a few obscure ones like medium and funeral director.

The locations were things like public toilet, a beach, and a supermarket.

The objects were things like matches, a fork, and added some more complex ones like somebody else’s wallet. And the scenarios we wrote down were things like a job interview, nana going mental, an eating contest, and an exam.

By keeping them a bit simple, strange, and vague, it gives you more blanks to fill in and stretches your creative muscles. Sometimes combinations can be difficult, and if this happens, you can always cheat a little bit.

For example, if the location you picked was a mountain top but it didn’t fit very well with your other items you can always say it’s a restaurant named the mountain top. 

Story-in-a-Can-2.jpg

Use the notes however you want to use them. The story ideas you come up with might not be very good and you might just overcome writer’s blocks with this exercise. There is always a chance you might stumble on to your next script idea.

We actually did this technique for a vlog episode which is linked on screen and down below. We thought it was an awesome idea and wanted to share it with you!


Generating Story Ideas for your Film.jpg

DISCLAIMERS:

Some of these links are affiliate links, if you purchase gear via these links The Film Look will receive a small commission, but there will be no additional cost to you. Thank you!

DIY Overhead Shooting Rig


Nearly every video we shoot for this channel uses our top down shooting table in some way. We use the setup when we are trying to explain something on the white board, to show something we are building, it helps when you need to be hands free or just as an extra table to work and shoot on.

The Table

Let’s start off with the table, the top is made out of MDF which has been varnished so it can be easily cleaned. The best thing about the table is that is folds away into the wall when we need more space.

The legs are on hinges and have a magnetic catch, so they fold away under the table and stay in place. The table top is also connected to the wall by hinges and folds flat against the wall.

This comes in handy as we can put our big pop out back drop on the wall when we are taking head shots for example.

DIY-Overhead-Shooting-Rig.jpg

Backdrop

Since the colour of the table is not the best, we have a few different backdrops to use depending on what we are shooting. The backdrops roll off a metal bar we have setup and clip on to the edge of the table. We also us a white board so we can write and draw, also we use one of these cutting mats as the green gives a nice contrast.

DIY-Overhead-Shooting-Rig-Backdrop.jpg

TV Table Mount

The way we mount the camera is using a monitor stand that you would normally use on your desk. We modified it by connecting a quick release plate to a piece of wood, the one we used is a Manfrotto 323 RC2 Quick Release Adapter. Then we attached this to the monitor stand just like you would if you were attaching a monitor to the stand.

Since the cameras we use on the shooting rig are small mirrors cameras, there is no weight issues as this stand is built to hold monitors that are much heavier than our cameras.

With the arm you can adjust the height, move it backwards, forwards, and tilt it left and right to adjust the framing of your shot.

DIY-Overhead-Shooting-Rig-Mount.jpg

Monitor

After testing we worked out which settings are best to use on your camera when shooting on the table. So we can see what we were shooting we use our feel world monitor mounted onto the shelf.

DIY-Overhead-Shooting-Rig-Monitor.jpg

Lights

Lastly we use 2 soft boxes which have 5 115w bulbs in each of them, at a colour temperature of 5500K. 

DIY-Overhead-Shooting-Rig-Lights.jpg

This shooting table comes in handy for many different things and there are many different ways you can set up a shooting table just like this, just work out what is best to the space you have.


DIY Overhead Shooting Rig.jpg

DISCLAIMERS:

Some of these links are affiliate links, if you purchase gear via these links The Film Look will receive a small commission, but there will be no additional cost to you. Thank you!

Upgrade Your Camera Battery


The Sony a7s is a mirrorless camera with some great video capabilities. We’ve been using them for about a year now and would recommend them to anyone who is considering buying one.

The problem is, with it being a camera primarily built for photography, the batteries only last about 40 minutes. If you are shooting all day, you’ll need a hand full of these batteries to last the whole day.

So we needed to find a solution to this problem. It’s time to customise.

So this is the standard Sony a7s battery; the NP-FW50. It’s nice and compact to fit in the small form factor of the camera, and has a charge of 1020mAh.

This is plenty if you are shooting photos, but for video, it sucks the juice out in less than one hour.

Compare that to this, the Sony NP-F750. This has a charge of 5200mAh, over 5x that of the standard a7s battery. These are the batteries we use to power the LED panel and the camera monitor.

Sony-a7s-Battery-life2.jpg

So finding a way to use this battery to power our cameras will give the most compatible solution to our kit. This is what we did.

Firstly, we bought a Sony a7s dummy battery. These can be found online, we picked this one up on eBay for a few quid, and what it does is allow you to plug in an external power source into the camera by using a dummy a7s battery on one end, and a female jack on the other.

Secondly, we picked up a battery plate adapter for the Sony NP-F750, the big guy here. So by connecting the parts together and putting in the battery, it all seems to work!

Sony-a7s-Dummy-Battery.jpg

The voltage difference between the original battery and the big sony battery is only .2 volts, so this will be safe to run your camera.

Lastly, we needed a mounting solution. We already have cages for the Sony a7s, so by utilising the 15mm rod mount on the top, we bought a cheese plate, a small 15mm rod, and a strip of Velcro to mount it onto the camera.

Tidy up your cables with a rubber band or some tape, and you’re all set!

We have shot using this solution for months now, and using this battery works just fine. We also have a larger battery, the Sony NP-F970.

Sony-a7s-NP-Battery.jpg

This works too, but every now and then the camera likes to stay idle instead of waking up. We haven’t figured this issue out yet, so we suggest if you do plan on hacking your Sony battery, stick to the F750.

On an all-day shoot, we have got up to 6 hours out of this battery.

Another advantage of this external mount is being able to replace the batteries incredibly easily when it is on a tripod. Sometimes taking the original a7s batteries out when it is locked on a tripod can be difficult as it is accessed from the bottom. This rectifies the issue.


Upgrade Your Camera Battery.jpg

DISCLAIMERS:

Some of these links are affiliate links, if you purchase gear via these links The Film Look will receive a small commission, but there will be no additional cost to you. Thank you!

Should You Go To Film School?


The big question is “Should I go to Film  School?”.

This is a question that will be answered differently by every person you speak to. Me and Rob both went to university and studied a form of filmmaking. I studied Visual Effects & Animation, and Rob studied Media Production.

Film school is perfect for those who want to create a filmmaking network. If you don’t have any filmmaking friends, you’ll find some at film school. It’s great for accessing equipment too. They will have everything you need and more, and it’s all available to you. It’s also a good way to give you a target when you begin making movies. Assignments and coursework will give you a goal to aim towards, so it’s perfect for someone who might not have the mind-set to create their own tasks. If this is what you need, then go for it. Film School is for you, and you’ll get a lot out of it.

But there is another option. Both myself and Rob have learned a load more about making films from YouTube videos and free online tutorials, than we ever did at Film School. You can teach yourself the techniques you’d learn at film school by grabbing whatever camera you can get access to, including your phone, and heading out and just start shooting stuff, using YouTube videos as a guide.

Because of this, we thought we would create a “YouTube Film School”; a list of all of our favourite YouTube and online resources which have made us better filmmakers throughout the years.

Let’s start off with some great variety filmmaking shows:

Film Riot (Film Riot is a household name in terms of YouTube filmmaking resources. If you could only sub to one channel, make it Film Riot. They cover pretty much everything on their channel, all super high quality)

https://www.youtube.com/user/filmriot

Indy Mogul (Indy Mogul has been around forever, and they cover videos about DIY practical effects, visual effects, hacks, and filmmaking tools. Their catalogue is worth watching from the very start)

https://www.youtube.com/user/indymogul

D4Darious (Darious Britt has one of the most underrated YouTube channels. He has cinematography breakdowns of films, a massive list of writing techniques, and a bunch of others that are all worth watching)

https://www.youtube.com/user/D4Darious

Cinematography Database (Cinematography Database breaks down the Cinematography of films like no other, along with his knowledge of the industry you’re sure to pick up some tips)

https://www.youtube.com/user/cinematographydb

Next we have some channels that are great for kit reviews and DIY solutions:

Dave Dugdale (Dave creates some of the most in-depth kit reviews you can find. If you are thinking of getting a new camera and Dave Dugdale reviews it, you’ll know the entire A-Z.)

https://www.youtube.com/user/drumat5280

Philip Bloom (The good thing about Philip Bloom’s reviews are that he spends a good couple of weeks with a camera or a monitor before reviewing it. He goes very in-depth and talks about the kit in a practical sense)

https://www.youtube.com/user/philipbloom

DLSR Video Shooter ( DSLR Video Shooter is hosted by Caleb Pike and is another one of those channels that reviews camera equipment, he also loves a good camera DIY hack)

https://www.youtube.com/user/dslrvideoshooter

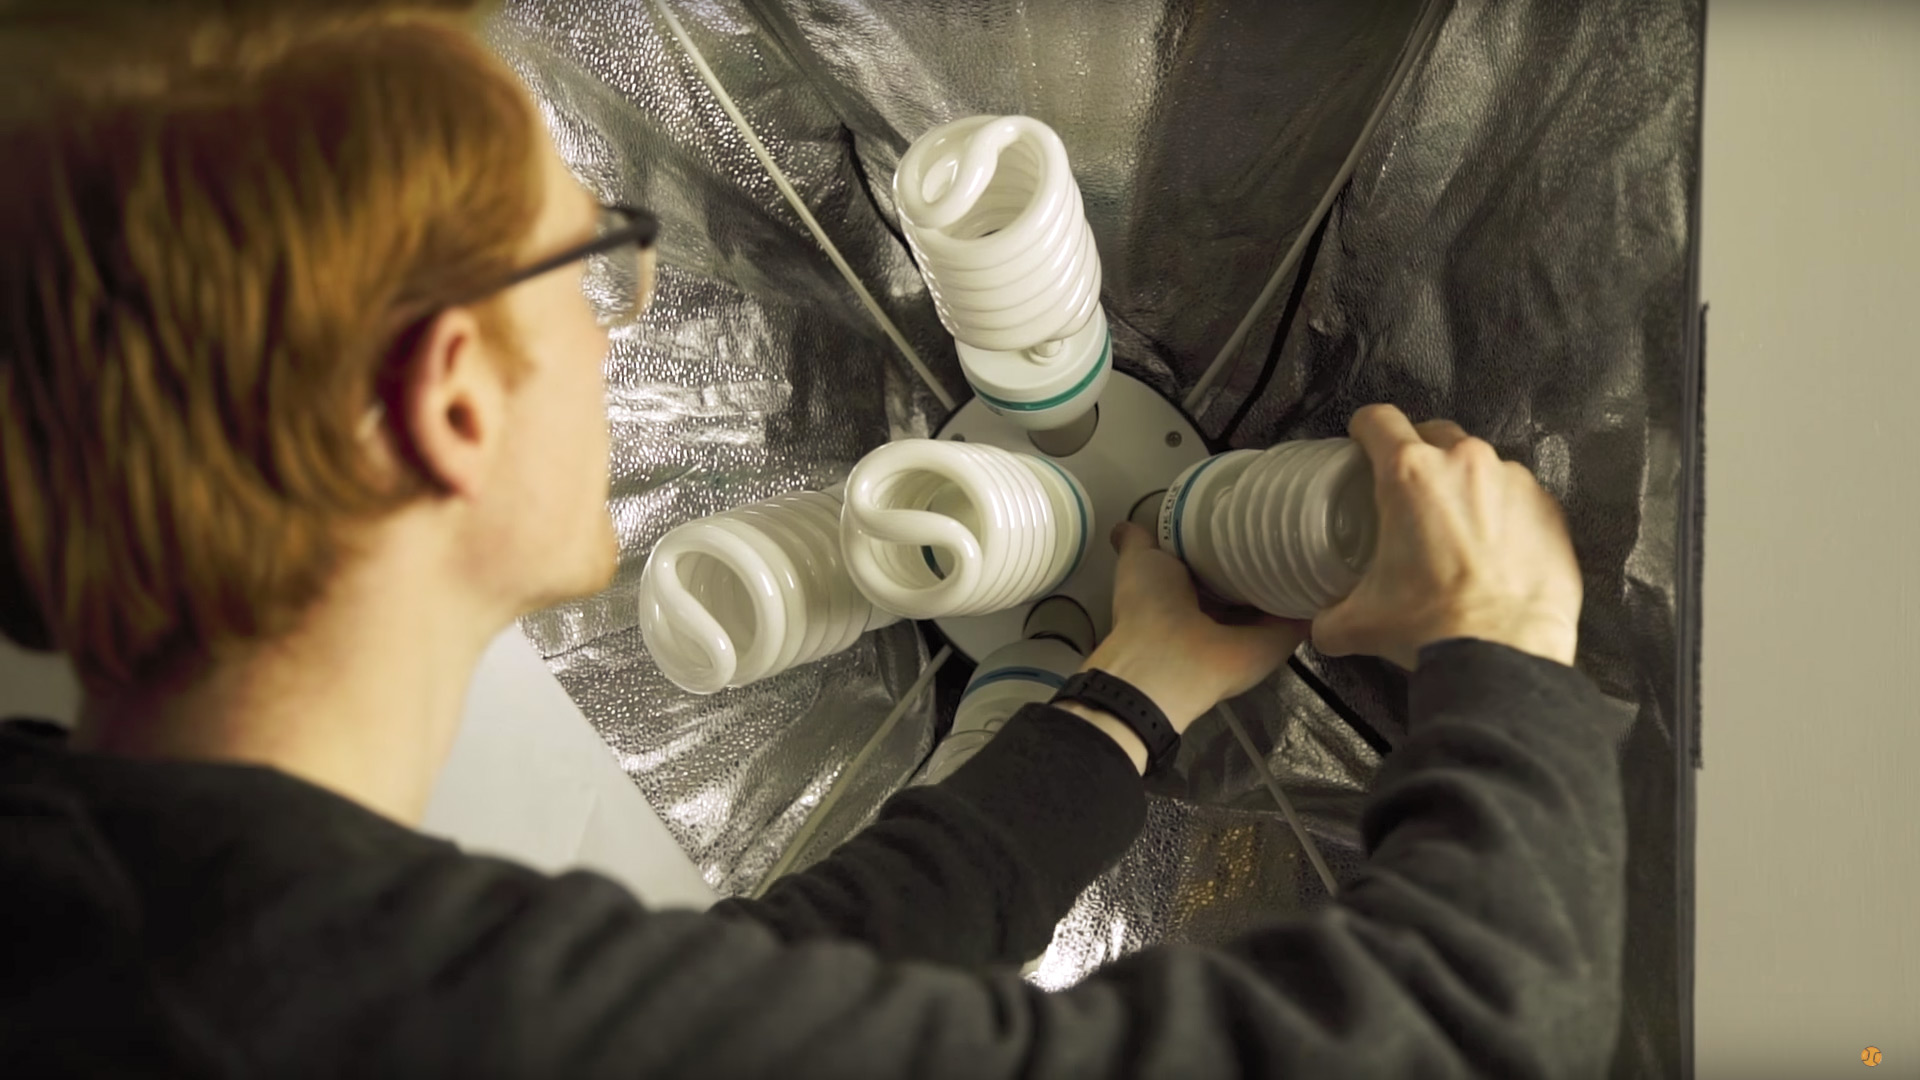
DIY Perks (This channel is not all about filmmaking as he builds lots of DIY projects, but his most notable projects involved building DIY lights and as filmmakers we need light)

https://www.youtube.com/user/DIYPerks

The Basic Filmmaker (The Basic Filmmaker has a lot of variety on his channel, and his kit reviews are especially great.)

https://www.youtube.com/user/TheBasicFilmmaker

If Post Production and Visual Effects takes your fancy, here are our favourites:

HitFilm (Hit film’s YouTube channel teaches you many different techniques about filmmaking, mainly in the post production side, this is because they also have an editing and visual effects program which you can download for free)

https://www.youtube.com/user/FXhomeHitFilm

Mike Russell (Mike Russell from Music Radio Creative has some really great tutorials for post-production sound. Making voices sound better, getting a Stephen hawking voice. He’s got you covered!)

https://www.youtube.com/user/musicradiocreative

Video Copilot (Most visual effects artists will know the name Andrew Kramer. The guy is a god of visual effects and has over 10 years’ worth of tutorials on his page. If it’s post production visual effects you want to study, he’s the guy to follow).

https://www.youtube.com/user/videocopilot

We have two channels we watch for interviews with filmmakers, actors, writers, and directors:

Film Courage (Film Courage interviews people in the industry, giving their insight into writing, producing, acting, directing, and more. These videos are great to put on in the background and listen to, like a podcast.)

https://www.youtube.com/user/filmcourage

The Hollywood Reporter (The Hollywood Reporter interviews the top Hollywood stars, getting an insight into their world. Their series The Roundtable has Hollywood stars chatting about the industry and their views, and some last over an hour.)

https://www.youtube.com/user/thrnetwork

Video Essays are a great way get grips with studying film, and learning the theory behind techniques helps you understand WHY you are using that technique. Get subscribed to these guys for some great binge watching videos about film and filmmaking:

Extras:

The Art of Photography (The Art of Photography is not strictly about filmmaking, it’s about Photography, but these videos from Ted will help you learn all you need to know about some of the best Photographs)

https://www.youtube.com/user/theartofphotography

Websites:

No Film School (Whether it’s on their website or their Facebook page, No Film School is a site you should be following. They post articles and videos daily, giving you the best resources from around the globe into one news feed. And a quick shout out to V from No Film School; Thanks for posting our videos, we really appreciate it!)

http://nofilmschool.com/

If we didn’t mention any channels that you think we should be following, leave us a comment! We’d love to know what we are missing out on. As always, we are on Facebook, Twitter, and Instagram. Thanks for watching, and we’ll see you next week.


Should You Go To Film School.jpg

DISCLAIMERS:

Some of these links are affiliate links, if you purchase gear via these links The Film Look will receive a small commission, but there will be no additional cost to you. Thank you!

Should You Buy a Vintage Lens?


The Canon L series 24-105.

It’s arguably the most versatile lens you can buy in terms of its price, quality, and focal range. It gives a very clean, smooth and reliable image. But what if you want something with a bit more character? This is where vintage lenses come in.

So why use older, cheaper lenses when you have a relatively new lenses.

Well vintage lenses where used on film cameras and there is something about the look they produce which is so applying.

When you attach it to a modern DLSR or mirrorless camera, it produces a classic vintage aesthetic, getting you closer to achieving the film look. And because it is now in front of a modern sensor, the resolution of the image is not compromised; giving you something both modern and characteristic.

There are two avenues to go down when buying vintage glass.

You can go for something beaten or well loved. A lens which has been used to death or a bit mistreated will give you look that is the opposite of sterile, perfect for a highly-stylised image.

Then there are well looked-after vintage lenses.

You’d think they are less common than those that have collected dust and dirt, but most people take special care of their camera equipment.

The quality of the glass inside most of these old lenses is far superior to the modern equivalent in a similar price range. For a fraction of the price, you’ll get top quality glass.

Jupiter9-85mm-Lens-Review.jpg

This Jupiter 9, 85mm f2 lens, which I picked up for £80! I’ve been wanting an 85mm lens for a while now, but could not justify the price of a Canon or Sony version of this lens. So I went with this one as it is much cheaper than the Canon or Sony alternatives, for a lens that will not be used on a daily basis and might just sit in my camera bag until I need it. This is a real benefit of picking up vintage lens.

But be warned! Vintage lenses, even those that are pristine, have some visual characteristics that you will either love or hate.

This 85 has some serious lens flares! But in all honesty, they do look pretty cool!

Jupiter9-85mm-Lens-Review-1.jpg

If there is a light source just out of frame, you get this awesome soft, bright lens flare. Add a coloured gel to your light and you are now shooting some really stylistic stuff. But, if you want to shoot clean, you can always put a lens hood on it or flag the light from hitting the lens.

This 35mm has a heavy vignette. Vignettes are something people add to their image in post-production, so I don’t consider this a downside to the lens. If anything, I quite like the look it gives, as it guides the audience’s eye to the subject. The vignette is very natural as it does it in camera, so there are no banding issues like vignettes applied in post.

Takumar-35mm-lens-review.jpg


So compared to modern lenses, each vintage lens has its own visual style that is unique to each lens.

Back in the day, changing your f stop was done mechanically and not electronically, meaning that adjusting the aperture is done on the lens.

What’s great about some vintage lenses is the aperture doesn’t click – it’s smooth, like a focus ring. This means if you wanted to, you can adjust exposure during the take and it doesn’t jump from f stop to f stop. This is handy if you need to adjustment exposure if the camera travels from outside to inside.

So vintage lenses are a bit quirky, they give something unique, authentic, and just something a bit different. But here’s the downside.

Vintage lenses don’t have image stabilisation. So if you are shooting handheld or run and gun, you’ll probably experience micro jitters. With a modern lens that has IS like the 24-105, it will remove those micro jitters from you image.

Lastly, if you aren’t planning on embracing the quirky flaws of a vintage lens because the project needs a clean look, then you will have to use something like a 24-105.


Should You Buy a Vintage Lens.jpg

DISCLAIMERS:

Some of these links are affiliate links, if you purchase gear via these links The Film Look will receive a small commission, but there will be no additional cost to you. Thank you!

Filter Your Writing Changes


Editing your script when it has an excess of 20, 30, and 40 pages can be really difficult to wrap your head around. You now have so much content in your script that making changes to plot points or character tweaks feels like you're biting off too much in one go.

Wrapping your head around everything all at once is a mind melting task. So I needed to come up with a way that helped alleviate some of that mind melting. I call it: The Coffee Filter Method.

Let’s say you have 4 main characters. They all have their own character arcs in the story line, and the main plot that drives their actions has 6 unique instances.

At this point, if you want to change something half way through, there are a lot of points that will need altering on each side of this scene for it to make sense. Making this change just got really complex because it really isn’t just this scene you'll need to edit.

Filter-Your-Writing-Changes-1.jpg

So the Coffee Filter Method is really simple, and works like this:

First of all, make a list of all of the changes you want to make. This can be altering lines, changing the action, or even continuity issues like “what is this guy doing when the other dude is over there?”.

Now they are all in a list, pick one and write it at the top of each page as you read through the script.

You want to read through your entire script only thinking about the change that you’ve chosen to write at the top of your page. Make that change and start over with another task on your list.

Filter-Your-Writing-Changes-2.jpg

This method isolates all of the other complications you might have and gives you a single goal. This might seem like a more time consuming method compared to tackling everything head on, but, at least for me, it removed that horrible dark cloud in my head and let me concentrate on the single task at hand.

So next time you have a shed load of changes to make, set yourself a task list and re-read your script with only one particular change in mind at a time. I have some filters that I use for every script I write. Here are a few examples:

  • Are these characters being tortured? Are they hitting rock bottom?

  • Does every scene change, turning from peace to violence?

  • Does every character have an independent activity in the scene? Get them to do something!

  • What is this line of dialog providing? If it was taken out, would this scene still make sense?

  • Are there any lines of dialog that can be replaced with action?

So next time you are tackling a massive script and don’t know where to start, try looking through a filter.


Filter Your Writing Changes.jpg

DISCLAIMERS:

Some of these links are affiliate links, if you purchase gear via these links The Film Look will receive a small commission, but there will be no additional cost to you. Thank you!