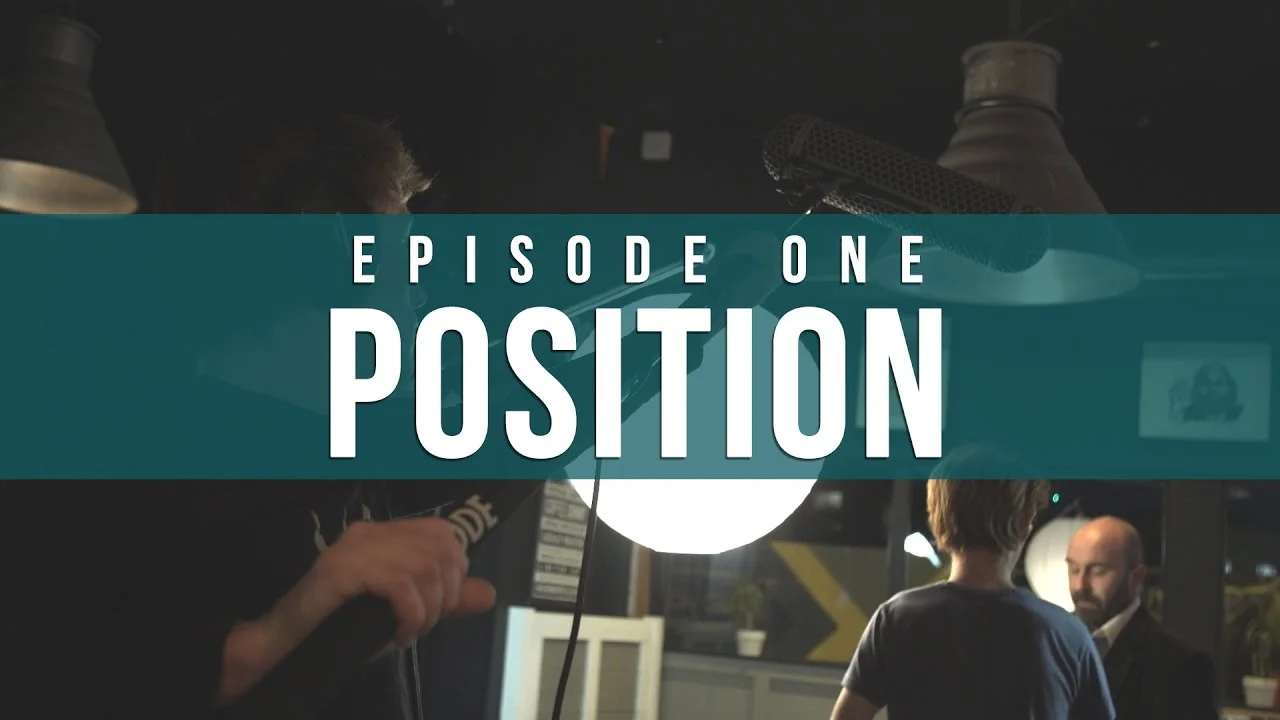
The Indie Film Sound Guide is a step by step series teaching you all of the basics to achieve better audio for your films. This includes preparation, recording, and mixing. The guide uses a scene shot specifically for the guide, and follows a proper workflow from start to finish. This is everything you will need to know to start recording great sound for your short film!
The position of your microphone is the most important element to achieve good quality sound: welcome to episode one.
Let me show you a prime example of why the position of your microphone is crucial to a good recording. Here I have a scene: Stu and Frank are chatting about how they are going to hide a body.
Take 1 was actually recorded using my mobile phone, placed on the table.
Take 2 was recorded using a Rode NTG-2 shotgun mic. Problem is the mic wasn’t shooting close enough to the subject. This is a prime example of why the position of your microphone is so important.
If my old mobile phone can outperform a quality shotgun microphone, it’s evident that closing the distance between the microphone and subject is key to better audio.
Rode Video Mics are a common piece of equipment for amateur productions, and for the price they capture a solid sound. But because it conveniently has a hot-shoe attachment, people assume that placing it on top of the camera is where it is supposed to go.
If you are a one man crew shooting vox-pops, or a self-shooting vlogger, a set up like this will work well only because the subject is so close. Any more distance than a foot, and the sound of your subject will quickly lose quality.
You can greatly improve the quality of a Rode Video Mic by picking up an extension cable for your mic and attaching it to a boom pole using the thread on the bottom of the hot shoe.
Positioning a microphone overhead, and aiming it towards the subject is the most common method for recording good quality audio.
If you are in windy conditions, positioning it under the frame can cut some of that noise out. For the best results you can use a dead cat or a blimp, which will trap the wind before it hits the microphone.
You can actually use anything furry and it will do a similar job. Even something like a wooly hat will help. In fact, I’ll demonstrate using this fan heater directed against my face.
So just find something fluffy or furry and wrap your microphone in it!
Work together with the camera operator and figure out when your microphone is in shot. Then raise it out of frame an inch or two. These few inches will give you room to move and sway without it getting back in frame by mistake.
When the camera changes its position and focal length, the framing will change too which means you will have to adjust your position in order to not get the microphone in frame.
When you start recording, you want to limit how much you move your hands. If you adjust your grip during a take, it can create noises which travel up the boom pole and records into the microphone.
So find a comfortable position and instead of readjusting your grip with your hands, use your wrists and elbows instead. A cross grip is my preferred grip. If both of my hands were facing the same way and I rolled down, it’s a lot harder for me to hold onto the boom.
So crossing your grip will give you a strong, steady grip for longer periods of time. But, do whatever is the most comfortable for you. Now, let’s talk a bit about loose cables!
The easiest way to get rid of loose cable is to simply wrap it around the boom. You can buy boom poles that you can feed cables into, so they exit at the bottom. You can even find little clips to keep your cables neat on the outside
I like to use the wrapping trick because it means if I need some slack on the cable, I just spin the boom the opposite way and unravel it.
So, step one, if your sound is rubbish, it’s probably just not close enough!
Anything we didn't cover? Leave us a comment and we'll create a wrap up episode at the end of the guide, answering any questions we missed!
The Indie Film Sound Guide is a step by step series teaching you the basics of recording sound on set.
Episodes released weekly:
Introduction: https://youtu.be/NzmDV5Z9c_o
The Scene: https://youtu.be/dGD8pIOx2ls
Positioning: https://youtu.be/1Ki442J5hUk
Dialogue: https://youtu.be/X8YPFNYgu8s
Minimise Noise: https://youtu.be/e6MEJd_rGvI
Gain & Room Tone: https://youtu.be/U5MJvJ9_guQ
Wild Takes: https://youtu.be/Ci9RIH5d1ew
Organise & Sync: https://youtu.be/ZyVvwsWQIwk
Mixing: https://youtu.be/7x5SnoftgUw
This video was sponsored By
Check out their website for some awesome tracks: https://www.premiumbeat.com/?utm_source=thefilmlook&utm_campaign=2017-thefilmlook&utm_medium=midroll&utm_content=indie-sound
DISCLAIMERS:
Some of these links are affiliate links, if you purchase gear via these links The Film Look will receive a small commission, but there will be no additional cost to you. Thank you!


