Gear Reviews

Upgrade Your Camera Battery


The Sony a7s is a mirrorless camera with some great video capabilities. We’ve been using them for about a year now and would recommend them to anyone who is considering buying one.

The problem is, with it being a camera primarily built for photography, the batteries only last about 40 minutes. If you are shooting all day, you’ll need a hand full of these batteries to last the whole day.

So we needed to find a solution to this problem. It’s time to customise.

So this is the standard Sony a7s battery; the NP-FW50. It’s nice and compact to fit in the small form factor of the camera, and has a charge of 1020mAh.

This is plenty if you are shooting photos, but for video, it sucks the juice out in less than one hour.

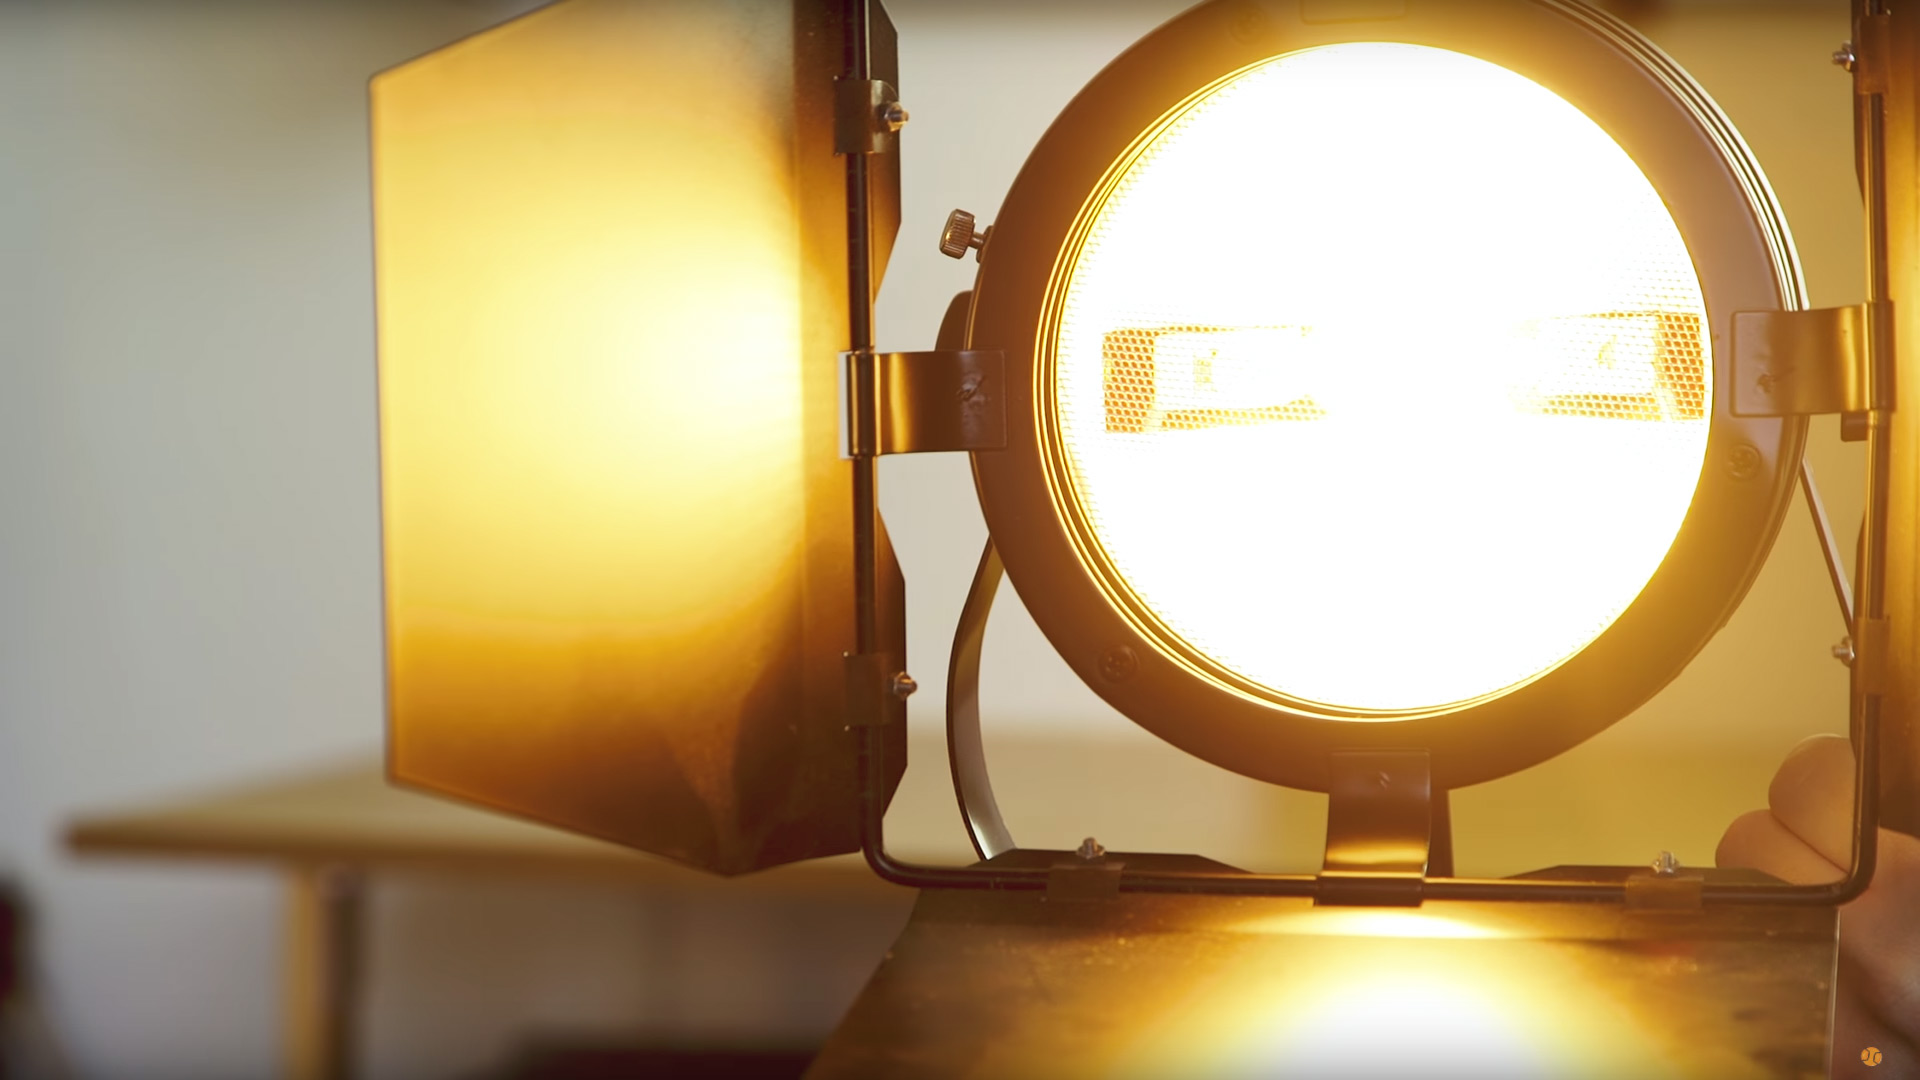
Compare that to this, the Sony NP-F750. This has a charge of 5200mAh, over 5x that of the standard a7s battery. These are the batteries we use to power the LED panel and the camera monitor.

Sony-a7s-Battery-life2.jpg

So finding a way to use this battery to power our cameras will give the most compatible solution to our kit. This is what we did.

Firstly, we bought a Sony a7s dummy battery. These can be found online, we picked this one up on eBay for a few quid, and what it does is allow you to plug in an external power source into the camera by using a dummy a7s battery on one end, and a female jack on the other.

Secondly, we picked up a battery plate adapter for the Sony NP-F750, the big guy here. So by connecting the parts together and putting in the battery, it all seems to work!

Sony-a7s-Dummy-Battery.jpg

The voltage difference between the original battery and the big sony battery is only .2 volts, so this will be safe to run your camera.

Lastly, we needed a mounting solution. We already have cages for the Sony a7s, so by utilising the 15mm rod mount on the top, we bought a cheese plate, a small 15mm rod, and a strip of Velcro to mount it onto the camera.

Tidy up your cables with a rubber band or some tape, and you’re all set!

We have shot using this solution for months now, and using this battery works just fine. We also have a larger battery, the Sony NP-F970.

Sony-a7s-NP-Battery.jpg

This works too, but every now and then the camera likes to stay idle instead of waking up. We haven’t figured this issue out yet, so we suggest if you do plan on hacking your Sony battery, stick to the F750.

On an all-day shoot, we have got up to 6 hours out of this battery.

Another advantage of this external mount is being able to replace the batteries incredibly easily when it is on a tripod. Sometimes taking the original a7s batteries out when it is locked on a tripod can be difficult as it is accessed from the bottom. This rectifies the issue.


Upgrade Your Camera Battery.jpg

DISCLAIMERS:

Some of these links are affiliate links, if you purchase gear via these links The Film Look will receive a small commission, but there will be no additional cost to you. Thank you!

Should You Buy a Vintage Lens?


The Canon L series 24-105.

It’s arguably the most versatile lens you can buy in terms of its price, quality, and focal range. It gives a very clean, smooth and reliable image. But what if you want something with a bit more character? This is where vintage lenses come in.

So why use older, cheaper lenses when you have a relatively new lenses.

Well vintage lenses where used on film cameras and there is something about the look they produce which is so applying.

When you attach it to a modern DLSR or mirrorless camera, it produces a classic vintage aesthetic, getting you closer to achieving the film look. And because it is now in front of a modern sensor, the resolution of the image is not compromised; giving you something both modern and characteristic.

There are two avenues to go down when buying vintage glass.

You can go for something beaten or well loved. A lens which has been used to death or a bit mistreated will give you look that is the opposite of sterile, perfect for a highly-stylised image.

Then there are well looked-after vintage lenses.

You’d think they are less common than those that have collected dust and dirt, but most people take special care of their camera equipment.

The quality of the glass inside most of these old lenses is far superior to the modern equivalent in a similar price range. For a fraction of the price, you’ll get top quality glass.

Jupiter9-85mm-Lens-Review.jpg

This Jupiter 9, 85mm f2 lens, which I picked up for £80! I’ve been wanting an 85mm lens for a while now, but could not justify the price of a Canon or Sony version of this lens. So I went with this one as it is much cheaper than the Canon or Sony alternatives, for a lens that will not be used on a daily basis and might just sit in my camera bag until I need it. This is a real benefit of picking up vintage lens.

But be warned! Vintage lenses, even those that are pristine, have some visual characteristics that you will either love or hate.

This 85 has some serious lens flares! But in all honesty, they do look pretty cool!

Jupiter9-85mm-Lens-Review-1.jpg

If there is a light source just out of frame, you get this awesome soft, bright lens flare. Add a coloured gel to your light and you are now shooting some really stylistic stuff. But, if you want to shoot clean, you can always put a lens hood on it or flag the light from hitting the lens.

This 35mm has a heavy vignette. Vignettes are something people add to their image in post-production, so I don’t consider this a downside to the lens. If anything, I quite like the look it gives, as it guides the audience’s eye to the subject. The vignette is very natural as it does it in camera, so there are no banding issues like vignettes applied in post.

Takumar-35mm-lens-review.jpg


So compared to modern lenses, each vintage lens has its own visual style that is unique to each lens.

Back in the day, changing your f stop was done mechanically and not electronically, meaning that adjusting the aperture is done on the lens.

What’s great about some vintage lenses is the aperture doesn’t click – it’s smooth, like a focus ring. This means if you wanted to, you can adjust exposure during the take and it doesn’t jump from f stop to f stop. This is handy if you need to adjustment exposure if the camera travels from outside to inside.

So vintage lenses are a bit quirky, they give something unique, authentic, and just something a bit different. But here’s the downside.

Vintage lenses don’t have image stabilisation. So if you are shooting handheld or run and gun, you’ll probably experience micro jitters. With a modern lens that has IS like the 24-105, it will remove those micro jitters from you image.

Lastly, if you aren’t planning on embracing the quirky flaws of a vintage lens because the project needs a clean look, then you will have to use something like a 24-105.


Should You Buy a Vintage Lens.jpg

DISCLAIMERS:

Some of these links are affiliate links, if you purchase gear via these links The Film Look will receive a small commission, but there will be no additional cost to you. Thank you!

DIY Light Diffusion


Diffused light (or soft light) is one of the easiest lighting methods to help achieve the film look. It’s a straight forward technique that you can use to reduce those hard shadows. We have a few ways to get diffused lighting on the cheap, so let’s talk about them.

One of the main lights we use here at Film Look HQ are a set of 800 watt lights. They are super bright and you can even dim them! Problem is, they produce a very powerful hard light.

800w-Lights.jpg

After buying these, I knew straight away the light needed to be softened. This is usually where diffusion paper comes in, but have you seen how expensive this stuff is!? For what is essentially just paper!

At this point I needed to find something that did the same thing but for a fraction of the price.

Easy, printer paper! I have a stockpile for my printer, the light can shine through, and it doesn’t cost an arm and a leg. But wait…those 800 watt lights get hot, REALLY hot! We have to use gardening gloves to touch these lights when they are on, and sticking paper to the front of them was just playing with fire…literally!

So printer paper was out of the question. What I needed was something cheap, easy to get, but something that also withstand a lot of heat. Grease proof paper! It’s made to be used in an oven, so it’s perfect. I picked up a roll for £1.

Cheap-DIY-Light-Diffusion.jpg

Cut it to shape and peg it to your lights. If you have to replace it, it only costs pennies. Just remember to get the white grease proof paper, not the brown stuff. I made that mistake.

So how well does grease proof paper work? Well here are 3 examples of using it in front of 3 of our lights.

Firstly, the 800 watt light. Here it is without…and here it is with it.

With-and-without-Diffusion-800w-light.jpg

Next is the a 70w blub. Again, here is it on its own…and with the greaseproof paper.

With-and-without-Diffusion70w-blub.jpg

Finally, our little 160 LEDs.

With-and-without-Diffusion-160LED.jpg

Another way we use it is to cover windows in your scene. If you have bright direct sunlight coming through, it can sometimes give you trouble in terms of dynamic range and exposure. If your window is out of frame or out of focus, you can throw some greaseproof paper on the window panes with some sticky tack to soften the light.

Here at The Film Look we often give our equipment nicknames. So what do we call this stuff? Over to Richard.

It’s greaseproof paper. There is a musical and a motion picture called Grease. The main character in Grease is called Danny Zuko. So how about Dannies? “Can we throw a Danny on this!?” Yeah, that’s work.

So what if you need to diffuse a lot more light? The paper isn’t massive, so we have a few other cheap DIY and super low budget methods.

If you don’t already have a 5 in 1 reflector panel, get one. They are really cheap and can be used in a million different ways. It has: White fill, negative fill, silver sheen, and Hip Hop Video Mode.

In terms of diffusion, if you remove the cover you have a large translucent panel. With something bigger you can create distance between the light and the panel, which makes the light even softer.

We also use a blind from Ikea. You can peg it to a light stand or a mic stand, like we do. This one is super lightweight and always in my lighting bag.

With-and-without-Diffusion1.jpg

If you need something even bigger, a shower curtain is the way to go. This one is frosted so it works really well. It does need a bigger area to setup, but you can easily fit 3 800 watt lights behind it and blast soft light into your scene.


DIY Light Diffusion.jpg

DISCLAIMERS:

Some of these links are affiliate links, if you purchase gear via these links The Film Look will receive a small commission, but there will be no additional cost to you. Thank you!

Sony A7s Cage Battle | MovCam vs. Tilta


Myself and Rob both have the Sony a7s. But, we have 2 different camera cages.

This week we are going head to head to see which is a better cage: The Movcam, or the Tilta.

We recently upgraded from shooting on Canon T3i’s to the Sony a7s. Big upgrade; both in terms of quality and cost. We wanted to add extra protection to them, as well as more functionality, so this is where the camera cage comes in!

I went with the Sony a7s cage from MovCam and Rob went with one from Tilta. Both great cages; if you purchased either of these, you’ll be happy with your purchase. But which one is better?

For this battle, we aren’t comparing like for like versions of each camera cage. We thought it would be better to compare what we consider the best value version of each product. The MovCam base model, and the Tilta with wooden handle grip.

So, we’ve created this chart. It’s a list of all the functionality, pros, and cons of the cages that we can think of which we are able to compare.

Sony-A7s-Cage-Battle-MovCam-vs.jpg

Let’s start off with build quality: Both the MovCam and the Tilta are made really solid. From using these cages for a few months now, they are both just as tough as each other.

Top Handle: Both points go to the Tilta for this one. The top handle on the Tilta is better in several ways. It’s generally just more comfortable, it’s really easy to take off, and you are even able to rotate it. This is perfect if you need extra space in your camera bag. The MovCam is not as great. It’s certainly not uncomfortable, but it does require a screw driver to remove. It’s a good solid handle, but that’s about it.

Cold Shoe Placement: both are in the exact same place and work just as identically. So we’ve given a point to both.

Cable socket protectors: Both do a good job of protecting your doors from getting bashed as well as holding your cables in place to stop them from snagging. The MovCam wins just barely with this one, as compared to the Tilta, you can add grip to your sockets with these hand tightening nuts, whereas on the Tilta you do need an alan key. Not a major difference, but being able to function without tools is always a better choice in our opinion.

Sony-A7s-Cage-Battle-MovCam-Size.jpg

Size: Both cages are almost identical in size. The Tilta is a bit bigger because of the handle, but you can take it off. A point to both.

Speaking about assembly, let’s talk a bit about it: We’ve got a little contest here. We raced to see who can disassemble the camera and put it back together the quickest. As you can see, the Tilta is faster to put together. This is because it’s just one solid bit of metal, whereas the MovCam is connected using 3 separate parts.

Sony-A7s-Cage-Tilta.jpg

Tilta Cage

Sony-A7s-Cage-MovCam.jpg

MovCam

Purchase options: We’ve given both points to the MovCam for this one, as you can get the basic cage just on its own, or buy it with the riser block. Unfortunately, the Tilta has to be bought with the riser block, which adds to its cost. The wooden handle is an optional choice for the Tilta, but if you are not planning on getting the wooden side handle, it’s worth just getting the MovCam instead as it’s a fair bit cheaper to what is practically the same product.

Future Proofing: Unfortunately, for the MovCam it’s lost out on both points here because you can only fit the Mark 1 Sony A7s to it. MovCam does sell an a7sII version, but what’s good about the Tilta is that you can fit The a7s, a7sII, a7r, and a7rII into this single cage. So if you are planning on upgrading to a mark II at some point, you can add this to your price justification.

Sony-A7s-Cage-Tilta-Cage.jpg

Comfort: The Tilta wins this time. Because of its wooden side grip, it’s just a lot more comfortable to use over a long space of time. It also has a record button which plugs into the USB slot so you don’t need to find the awkward record button that we all hate on the Sony Alpha camera range. As we said before, the top handle is also a bit more comfortable.

15mm Rod Mount: And the Tilta wins again. Both cages have a 15mm rod mount, but we had to give the points to the Tilta because unfortunately, the MovCam’s rod mount is attached to the top handle. So you can only use the mount if the top handle is attached. On the Tilta, this isn’t an issue as it’s mounted to the main cage. We use the 15mm rod mount for attaching an external battery, so this feature is really handy.

Weight: The weight difference between these cages is negligible. The MovCam comes in at 840 grams, and the Tilta comes in at 656 grams. But lighter is better, so the Tilta wins.

Colour: We contemplated not adding this because it’s a bit of a daft one, but I suppose the MovCam wins this time. You can get the MovCam in black and silver, whereas with the Tilta, it’s just silver. It’s really not a big deal, but it might be for someone else.

Sony-A7s-MovCam-Cage-Review.jpg

So from the date of upload of this video, the prices are: $520 for the Tilta (this includes the wooden side grip), and $400 for the MovCam (which is the base model).

So if we divide the cost of the cage by the number of points it scored, we will get a number which represents the price performance. The lower the better.

The Tilta got 15 points, so $520 divided by 15 scores the Tilta: 34.7

The MovCam got 13 points, so $400 divided by 13 scores the MovCam: 30.8

So the MovCam is the winner!

Sony-A7s-Cage-MovCam-vs-Tilta-Winner.jpg

So basically, both of these cages are solid. If you want the extra features of the Tilta, go for it. If not, it just depends on your budget.


Sony A7s Cage Battle  MovCam vs. Tilta.jpg

DISCLAIMERS:

Some of these links are affiliate links, if you purchase gear via these links The Film Look will receive a small commission, but there will be no additional cost to you. Thank you!

Video Editing PC Build 2017


They say it doesn’t matter what camera you’re shooting on as long as you are telling interesting stories. But how can I edit stories when my laptop’s halting efficiency and holding back creativity?

My current computer is getting old – it’s time to build a new one!

So Mac or PC? PC. The specs I chose on PC came to £1300. On a Mac, 4 grand!

Now I’m not hating on Apple! I own a Mac Book Air. It travels everywhere with me.

Here’s a rundown of the specs.

Intel i7 6800k. 6 cores, this is a beast for editing.

The Asus x99-A II. I chose this because it fits my CPU. It’s also got USB 3.1, 128GB of ram space, and is built for overclocking.

I’m gonna be overlocking the CPU, so I needed something that was going to take care of all the extra heat. I got the Corsair H110i GTX.

Video-Editing-PC-Build-2017-Corsair-H110i.jpg

I got 32 gigs of Corsair Vengeance RAM. Premiere Pro doesn’t really improve past 16GB so I went safe and got 32 just to be sure.

I’ll be installing Windows 10 on this SSD, along with my programs, so it’s gonna be much quicker than a hard drive!
I have 3 hard drives to storing media, which I already own.

GTX970. This has more than enough juice to edit nice and smooth.

I put a Corsair 850 watt PSU in because the overclocking will need a little bit more power.

I’ve put it all in a Cooler Master Pro 5. It’s got loads of room to work in, easy access hard drive bays, and cable management was simple!

Video-Editing-PC-Build-2017-CoolerMaster_Pro_5_Case.jpg

Altogether, it has come to £1350. I could have spent around £1100 on this build and the system would have been great, for now. But I spend a little more for future proofing.

Why did I only spend £1350. Well you have to set your limit somewhere.

You can find the benchmarks and parts list below.

  • Parts List

  • CPU – Intel 6800K

  • Motherboard – Asus X99-A II CPU

  • Cooler – H110i GTX

  • RAM – Corsair Vengeance DDR4

  • GPU – MSI GTX 970 4GB

  • Power Supply – Corsair CX850M

  • Case – CoolerMaster Pro Case 5

  • SSD – Patriot Blast 240GB

  • Hard Drives – 3x 2TB


Video Editing PC Build 2017.jpg

DISCLAIMERS:

Some of these links are affiliate links, if you purchase gear via these links The Film Look will receive a small commission, but there will be no additional cost to you. Thank you!

Should You Buy a Camera Monitor? | Feelworld FW759 Review


We invested in our first camera monitor a few weeks ago. We didn’t want to spend loads, but at the same time we didn’t want to get something which was a total waste of money.

We settled on this: the Feel World FW759. Question is, is it any good? Let’s find out.

Before I go into my opinion of the monitor, I’ll quickly run through the specs.

• 7 inch screen at 1280x800 pixels
• Display is a backlit LED.
• Built in Speaker, Stereo Headphone jack, Wire Remote OSD Controller
• Uses HDMI
• USB socket for updating firmware
• It is roughly £100. Or $139.

Feelworld-FW759-Sepcs.jpg

Okay, let’s start with the pros!

BATTERIES:

First of all, it can be both plugged into the wall, or powered by batteries. What is great about this monitor in particular is the type of batteries it uses. It uses Sony NP batteries, which are the same batteries we use for our cameras, lights, pretty much anything we use here at the Film Look. So compatibility is great.

Feelworld-FW759-Battery.jpg

SCREEN CLARITY:

I haven’t used many monitors before, so I can’t say if the quality of this screen is better or worse than another particular monitor. What I can say is that it is certainly better than the screen on the back of the Sony A7s, which might seem obvious but it’s worth pointing out to those who are sitting on the fence about getting their first monitor. With a bigger and brighter screen, you can certainly see a lot more detail in your image. The resolution is ideal for this size, 1280x800 is more than enough, you can barely see the pixels, unless you look real hard! It also comes with a sunshade that velcros on. Very handy!

Feelworld-FW759-Screen.jpg

VIDEO LATENCY:

After reading some reviews of the cheaper range of camera monitors, a lot of people had complained about latency issues. Well, this has pretty much none. You can use this monitor as a perfect shooting guide for framing. The very little latency it has (because all video devices have latency, some are just better than others) it will not disturb your shooting.

LIGHT WEIGHT:

So in a way this is a pro and a con. Because it is light, it’s more likely to break if you drop it. I’ll talk about the downside later on, but as a pro, it’s really light, which means it will reduce fatigue on run and gun and handheld shoots.

ON SCREEN FEATURES:

It has some really handy on screen features such as 4 function buttons you can set. We use focus assist, centre markers, and safe frames which is great if you are planning on slapping an anamorphic letterbox on top. Just a quick note, the focus assist isn’t amazing, you can usually just nail focus by eye.

Feelworld-FW759-Buttons.jpg

Speaking about cons!

PLASTICY:

This monitor will not survive many drops. It has a cheapish plastic feel, and I imagine if I really wanted to, I could snap it with enough force (if I really tried, that is!)

But, if you don’t intend of kicking it around, I’m sure this won’t be a problem. We don’t need armoured kit because we usually don’t get into situations which warrant such tough equipment. But I imagine if you are in tougher situations and are prone to dropping things, this isn’t the monitor for you.

We chose the FW759 over the FW759p. The P version comes with a bunch of extra abilities; histograms, under scan, exposure, and false color. But for the extra £40, we really didn’t need those extra features because the cameras we use already have them and we usually shoot with both the monitor on, and the camera screen for extra visuals.

From the money we saved, we bought the combo pack which comes with a battery, charger, and carrying case (which is totally worth it by the way! Great case).

Feelworld-FW759-Monitor.jpg

So far this monitor has come in really handy. We not only use it for framing and keeping focus on the job, but we spin it around and use it as a guide when presenting to the camera. We also hook it up to the top down for framing our overhead shots.

In all honesty, I wouldn’t have thought a camera monitor would be so useful. So if you are in two minds whether to get one, just get it, they really handy!


Equipment Links

🎥 This episode's kit/gear/equipment:

Links to Feelworld FW759 monitor.

Amazon UK: http://amzn.to/2dAtxB7

Amazon US: http://amzn.to/2dDDgDD


Video Editing PC Build 2017.jpg

DISCLAIMERS:

Some of these links are affiliate links, if you purchase gear via these links The Film Look will receive a small commission, but there will be no additional cost to you. Thank you!

Should You Buy a Camera Slider?


Today we are going to talk about camera sliders: when they are great, when they are crap, how to use them, and last of all, if you should buy one.

Over the last few years, the camera slider has become a staple in a freelancers kit after their camera and tripod. They have become relatively cheap, and they offer more advanced and cooler looking shots to your projects, which is great!

Slider-Review.jpg

The problem is, now that everyone has one, they are really being overused.

In a similar way to getting your first fast lens and shooting absolutely everything at f1.8; when you get your hands on a slider, everything you shoot at first moves up and down on this thing. I was certainly guilty of this in the past!

Here at The Film Look, we use sliders for two different types of production. Short films, and client videos.

Let’s, first of all, talk about using sliders for short films. You can utilise sliders in your films in a few different ways.

To reveal something. Sliders are great as movement into a new scene, or to reveal objects in an interesting way. They provide a really smooth and stable lateral movement which makes your shot look more cinematic.

The slider is also great to add tension to a shot. A slow crawl on someone’s face can add instant production value to your film with very little extra set up.

Should-You-Buy-a-Camera-Slider.gif

When using a slider for short films, less is more.

If an audience member notices you used a slider, then you've used it wrong. Immersion is key to good filmmaking, and if I’m sucked out of the film because my brain just went “oh cool, slider shot” then it’s been used incorrectly.

Demonstrating your sweet kit to an audience instead of just trying to tell an immerse story can result in giving your film ‘the amateur look’.

For side-on lateral movements, you will need depth between the foreground and background if you want to create a parallax.

What’s a parallax, you say? You know when you are sitting on a train and you look out of the window, and you notice the hills in the background barely move while the trees closer to you keep zooming past. That difference in perceived movement and speed is a parallax.

Without depth, as in, objects in the foreground and background, a parallax can’t exist. So adding a slider movement to a wide establishing shot without something to separate the background and foreground is pointless. There won’t be any striking movement.

Should-You-Buy-a-Camera-Slider_-_-The-Film-Look.gif

In cases like this, shoot something in the foreground to slider from. Or just stick to a pan or tilt, which can be just as cinematic.

Basically, what I’m saying is, there needs be a reason to use it. For short films, every shot needs motivation. Question all movement. Ask yourself, why am I using this type of shot? What is it going to achieve over something simple?

If you are adding a slider movement because it’s just cool and no other reason, just stick to the tripod.

Everything you choose must add something to your storytelling.

On the other hand! Client work is a bit different. Since sliders are easy to setup, fairly non-intrusive, and since they add so much production value to a shot, they are perfect for client shoots.

Clients love slider shots because it just makes everything silky, and really sexy. It adds instant quality and production value to a client project without stretching the budget to undesirable heights.

How-to-use-a-slider-for-clinet-shoots.gif

The same rules apply to the slider shot on client projects, there needs to be a motivation of movement. But, it’s a little less strict.

The camera slider isn’t there to replace your tripod, it’s like comparing apples to oranges.

So should you buy a camera slider? Yeah, they are pretty cool.


Should You Buy a Camera Slider.jpg

DISCLAIMERS:

Some of these links are affiliate links, if you purchase gear via these links The Film Look will receive a small commission, but there will be no additional cost to you. Thank you!