
The best shots in a film usually involve movement; whether that be camera movement or character movement. With the invention of things like handheld gimbals, achieving a big move is easier than ever! But achieving a good looking, and purposeful, camera move is more than just mindlessly whipping the camera around the scene.

Today we are showing YOU how we approach long takes, camera movement, and how we combine shots to make a film feel more CINEMATIC. Welcome to The Film Look.
This process is actually quite straightforward. The first thing you will need is a set of storyboards for your scene. You CAN create storyboards by drawing them out, but if you can’t draw, like us, you can take photos instead.
We have a video going into more detail about storyboarding using photos here. It’s actually really helpful and has multiple benefits as opposed to drawing them by hand!
Once you have an idea of the types of shots you want to cover, lay them out in front of you.
For this example, we are using the photo storyboard created for a scene in our short film Corpse. This photo board includes 36 shots. But if you closely, there are a bunch of shots which we can actually connect together using camera movement, such as these three here.

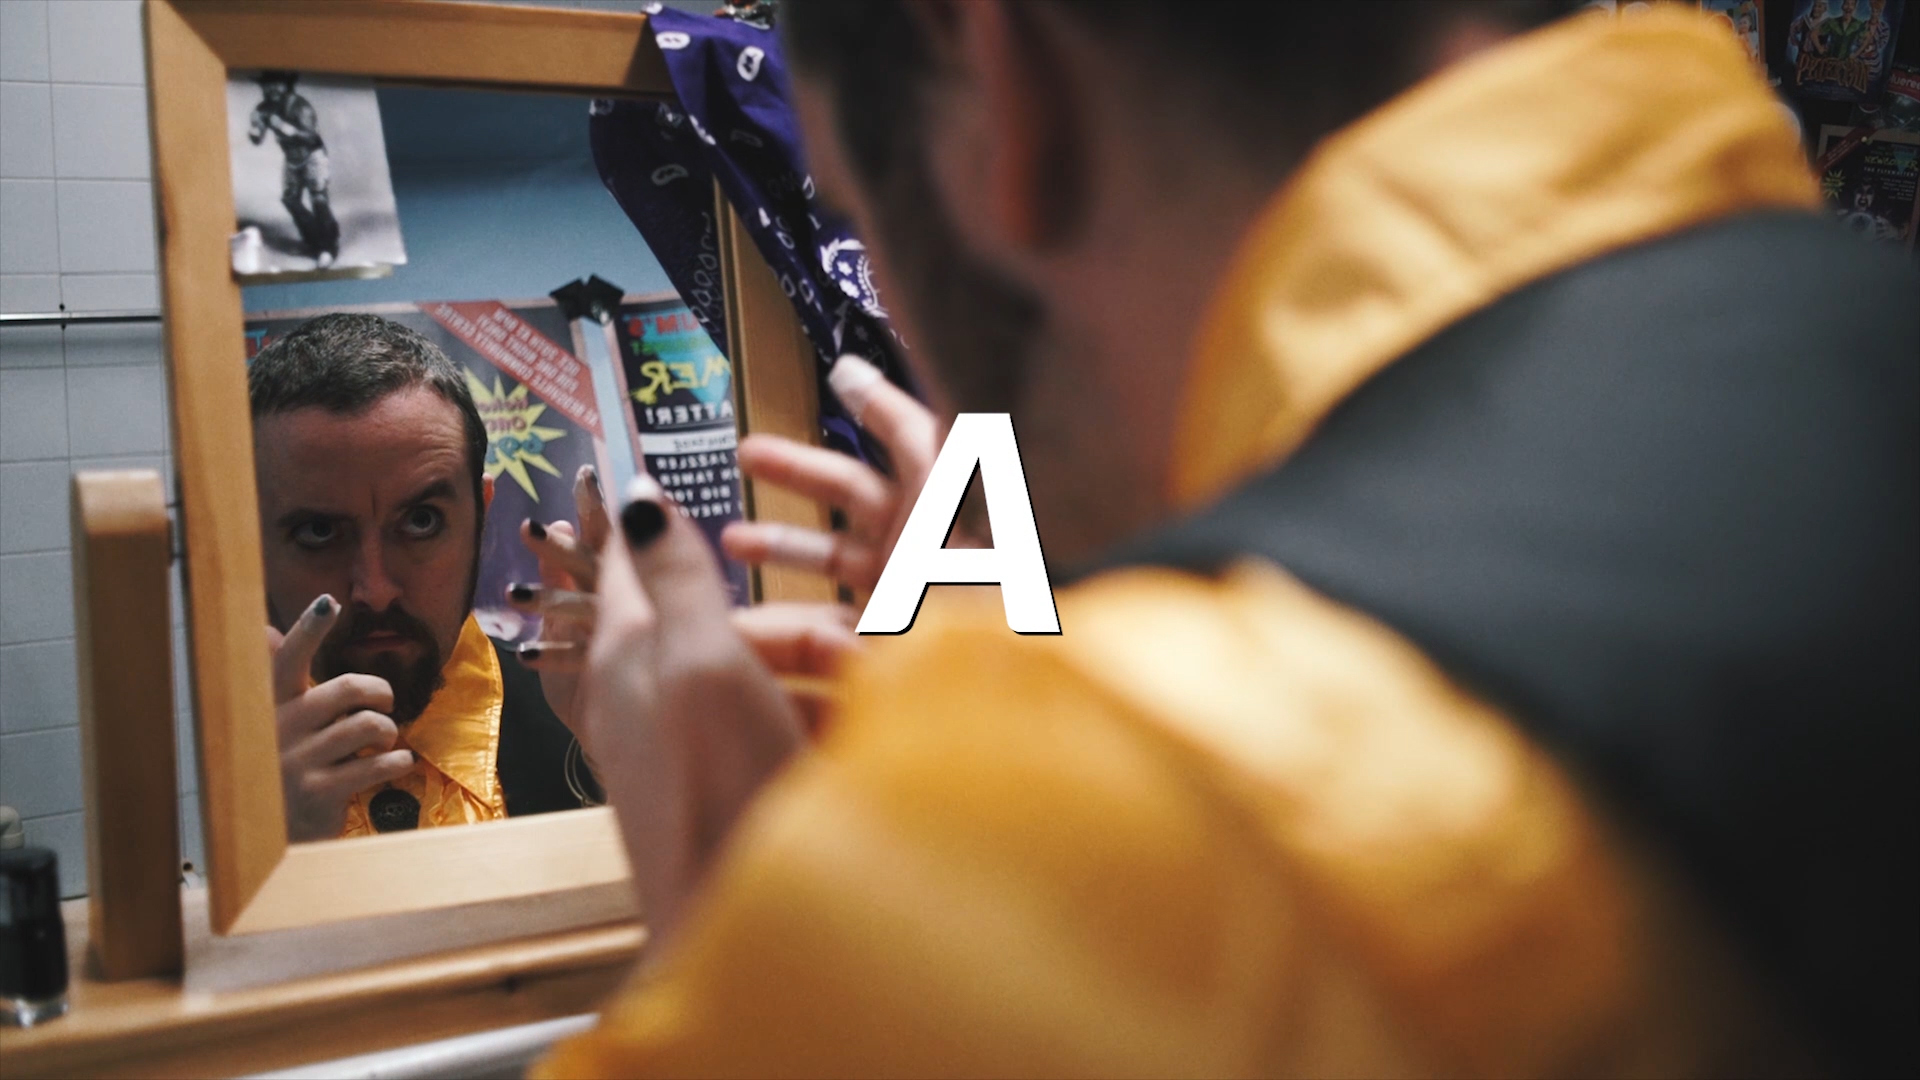
We have an insert of a character receiving a knife, a close up on one actor, and a close up on another actor. But all three of these actions can be covered in a single moving shot because they are all within a pan or a tilt of one another.
So instead of CUT CUT CUT, let's transform it into MOVE, MOVE, MOVE.

We start off on shot A, using the action of giving the knife as direction for the camera move, which brings us to shot B, hold for a moment, then we continue up to shot C.

If we do this with all of the shots in the scene, we can massively reduce the shot list, which in turn, reduces the shooting time. It looks better, and it's quicker to shoot than before! Two birds, one stone.
We also did this in our film The Asylum Groove during the execution scene. We start on our character, then up to the execution head cap, then down to his restraints, then back to the character for his emotional change.

They started out as inserts, but we turned them into one single moving shot.
Let's use another example. Something a bit more technical.
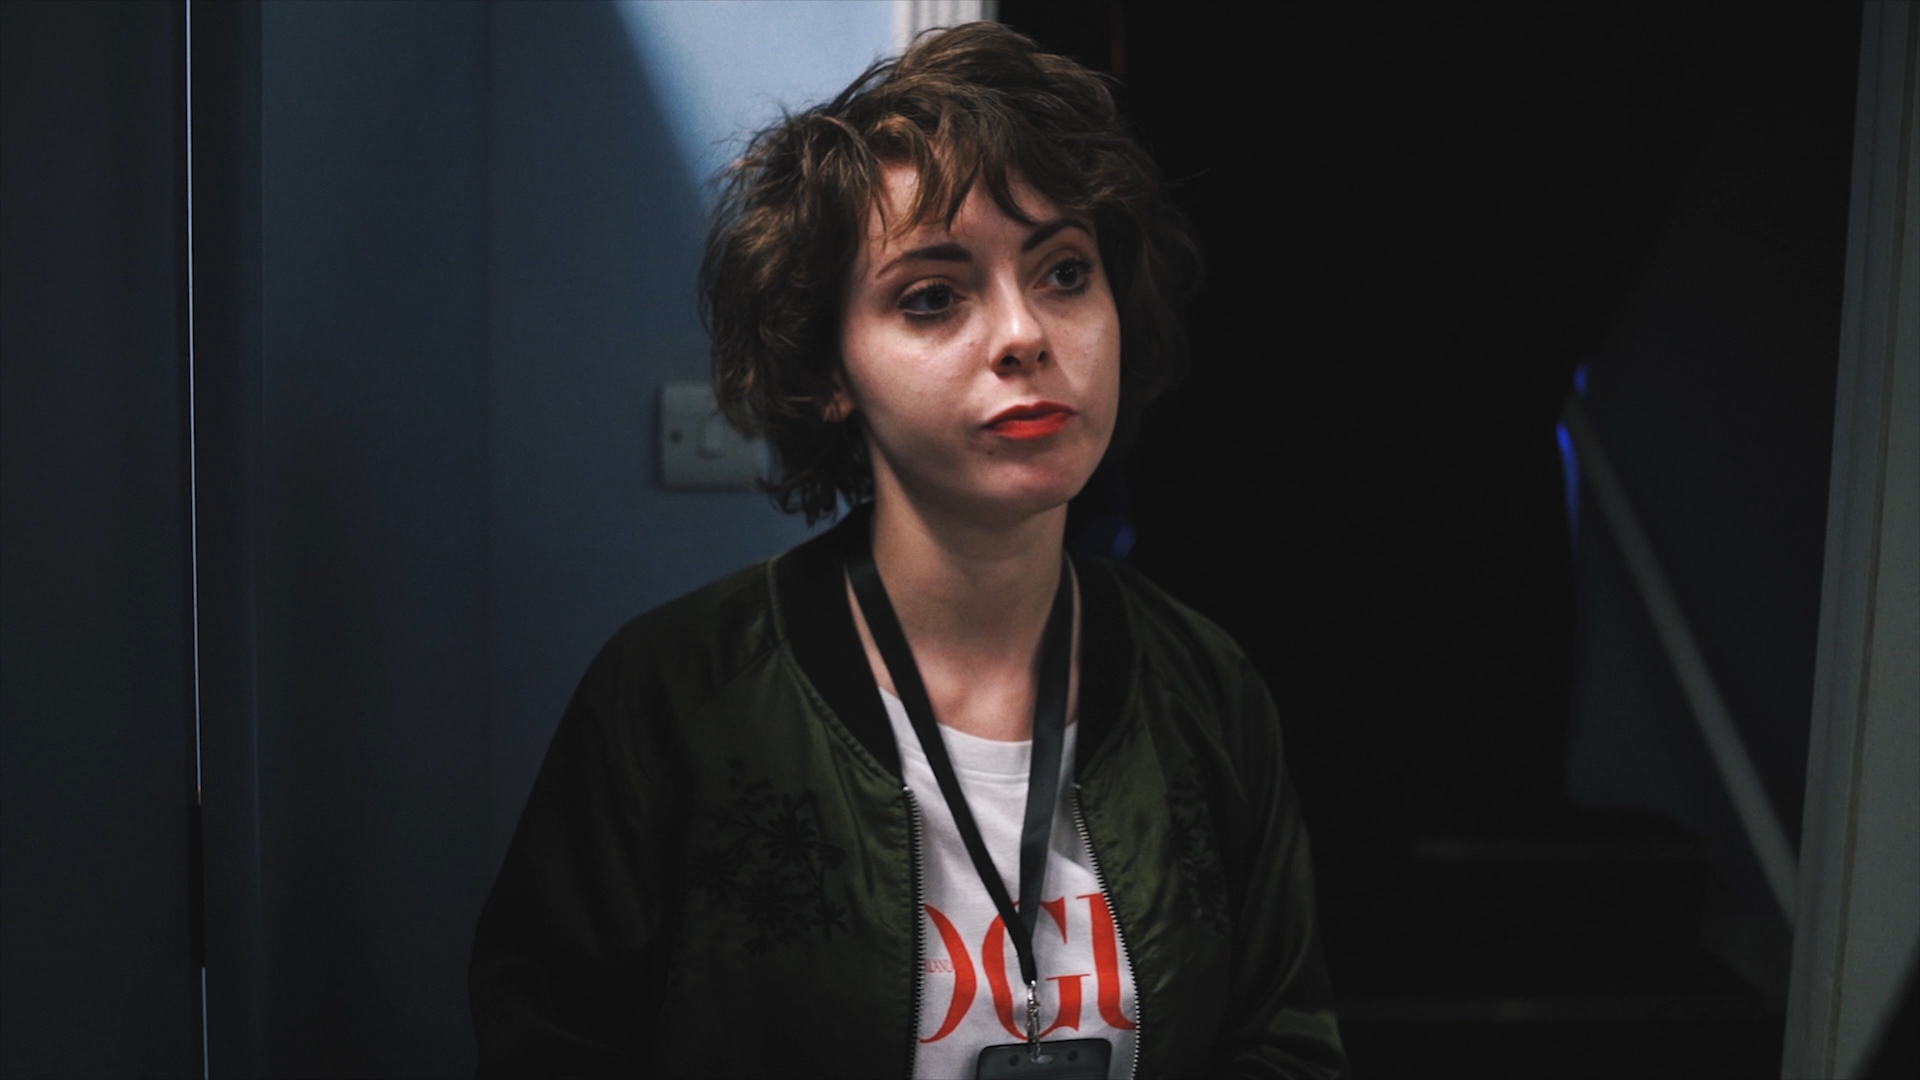
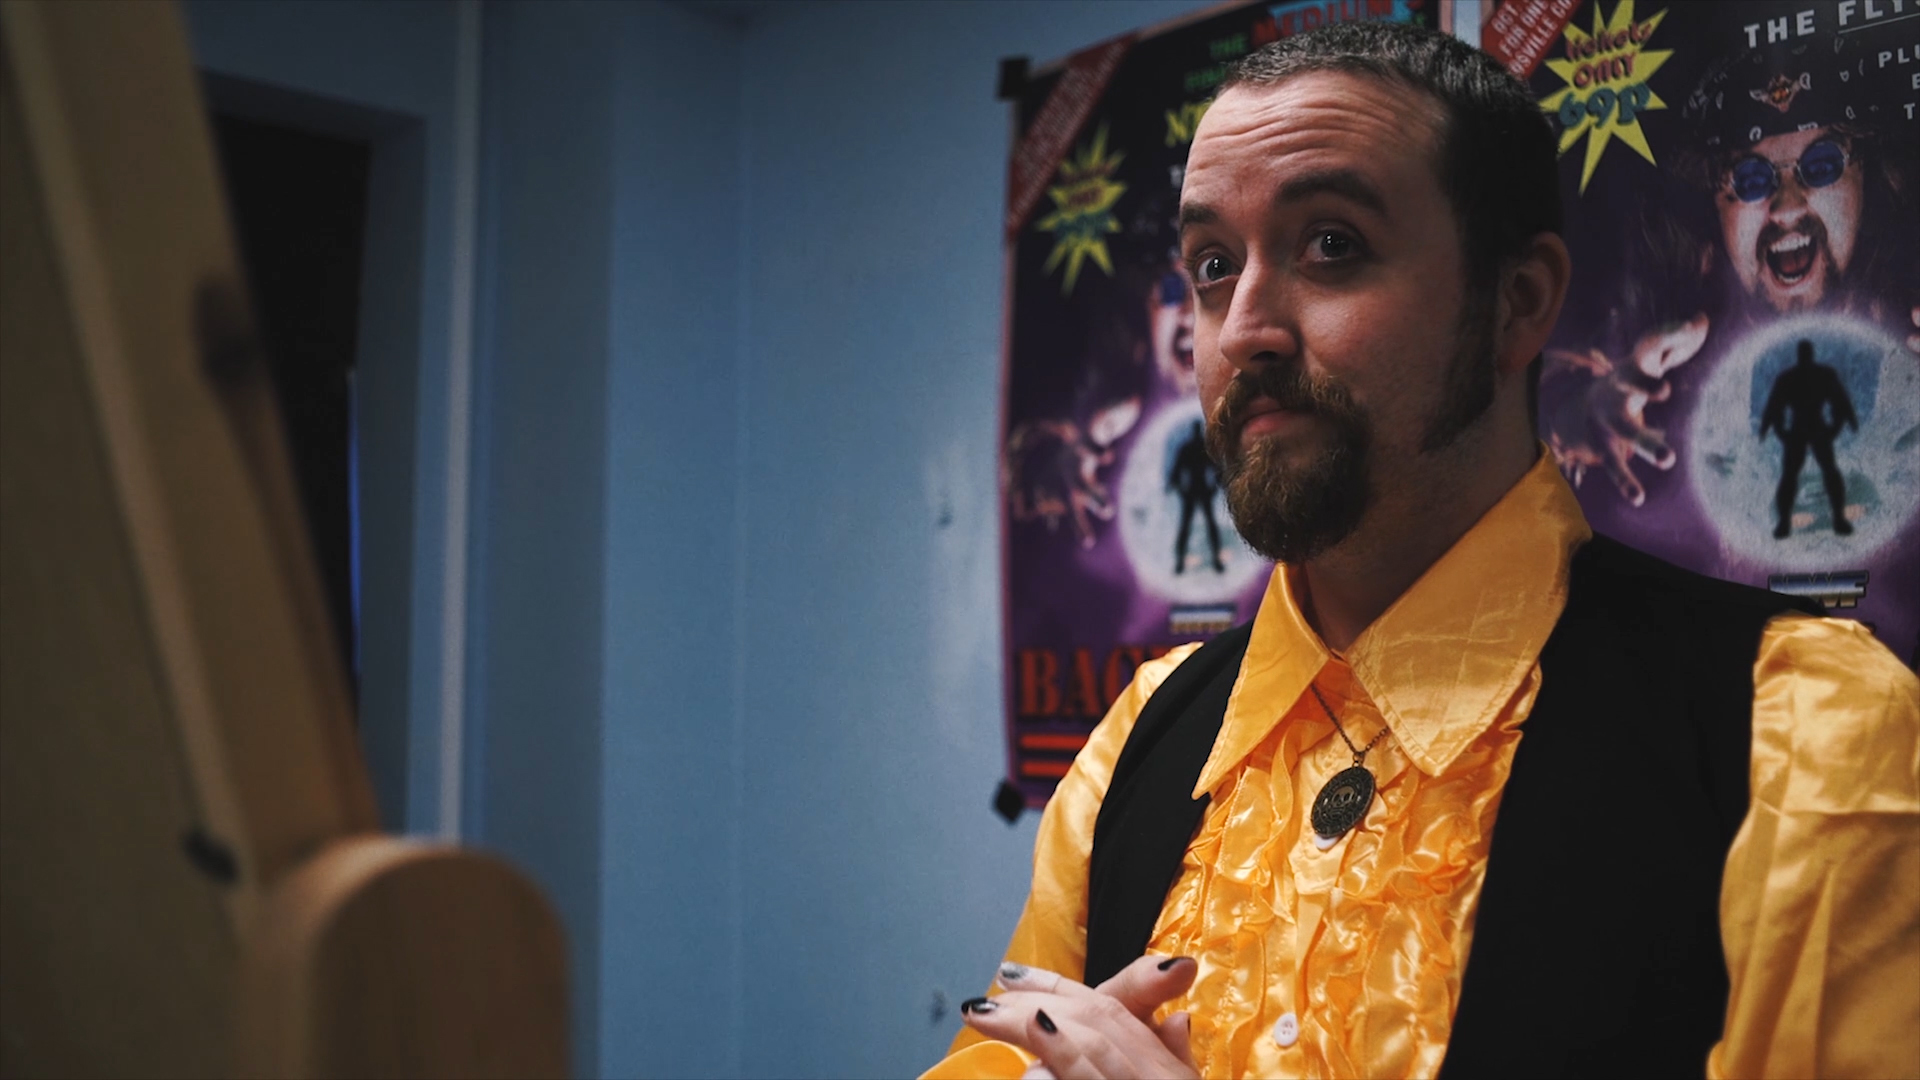
Next up we have a scene from our film Backstage.
The original shots we had planned for this scene were: a wide establishing shot of the bathroom and the people inside, a shot of Jenny, and a shot of the Medium.
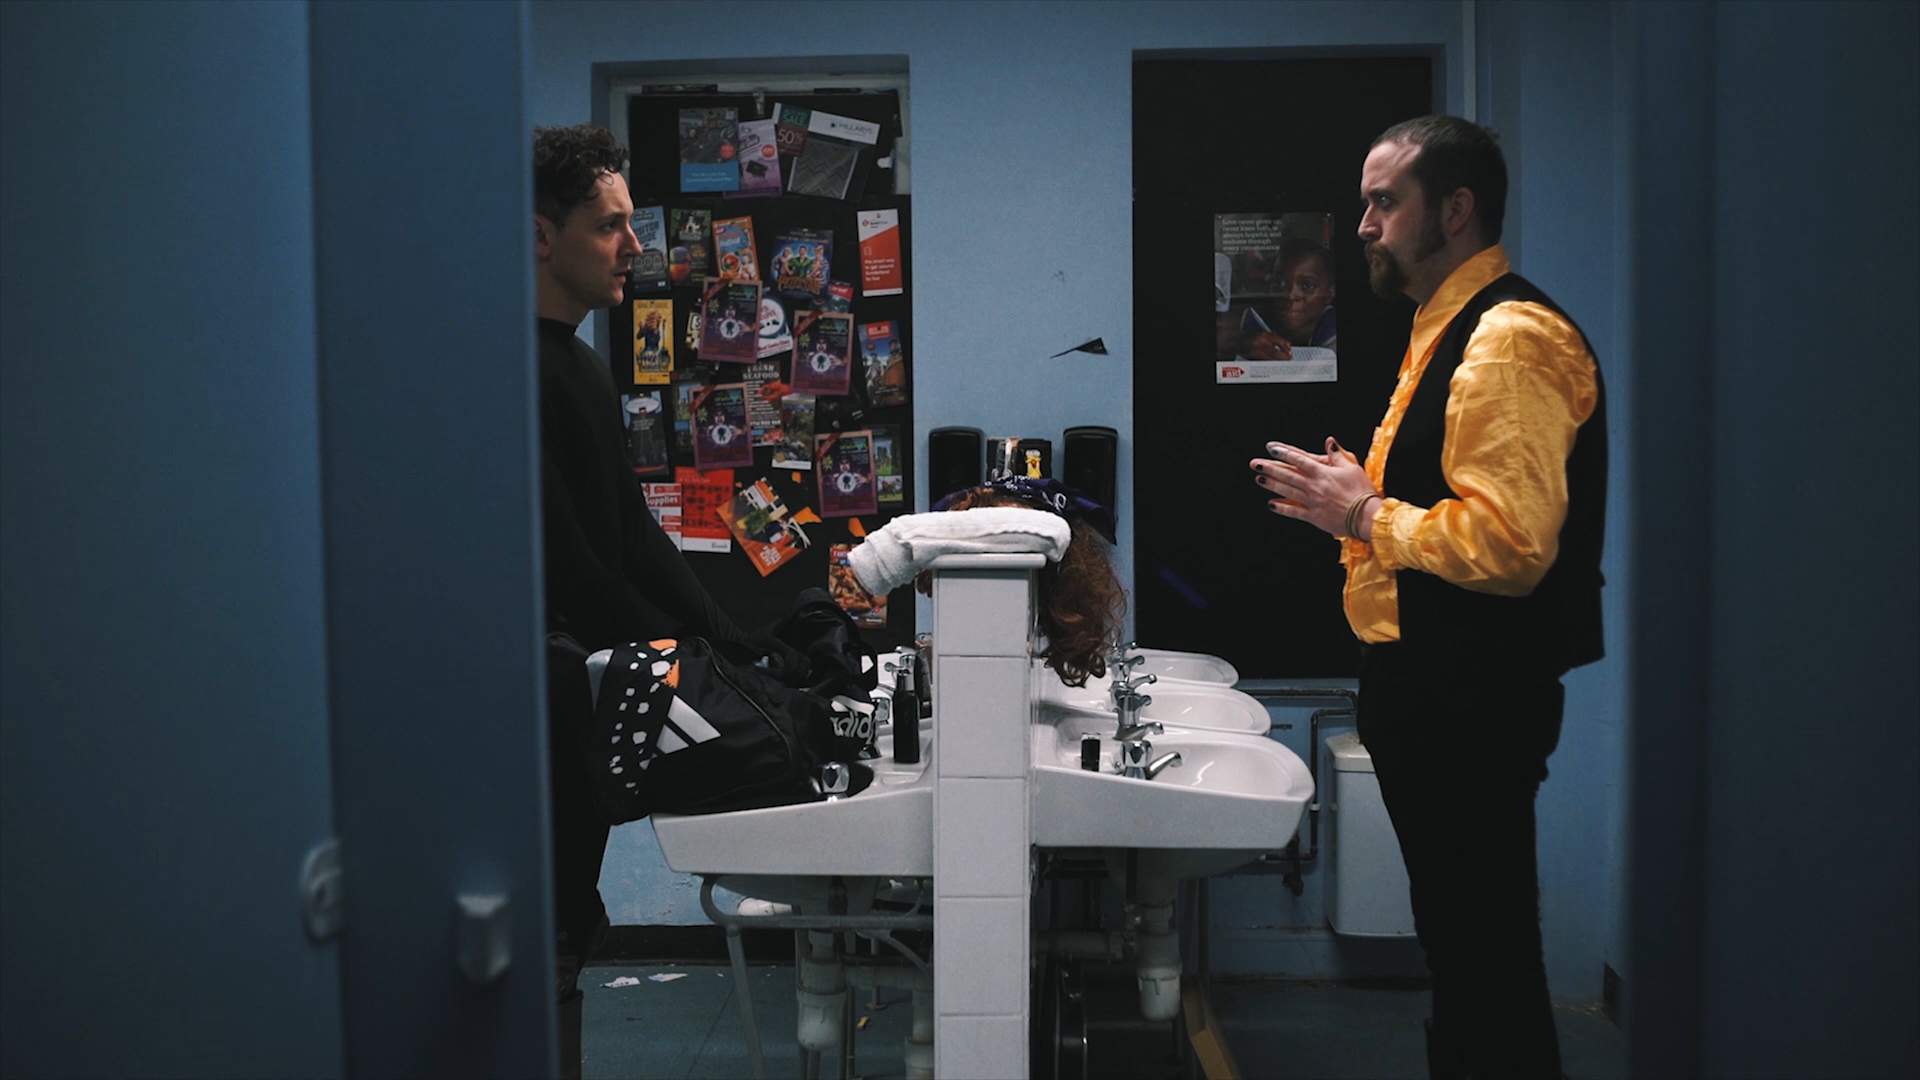
The room itself was quite small. We didn’t want to use a fish eye lens, so instead, we connected the three planned shots together into one camera movement which would hit all the marks.

It starts with the Medium in a reflected close up using the mirror. Then it pans to Jenny as she enters the room - the camera move is motivated by the sound of the door. This move establishes the geography of the room and the space between our two characters.
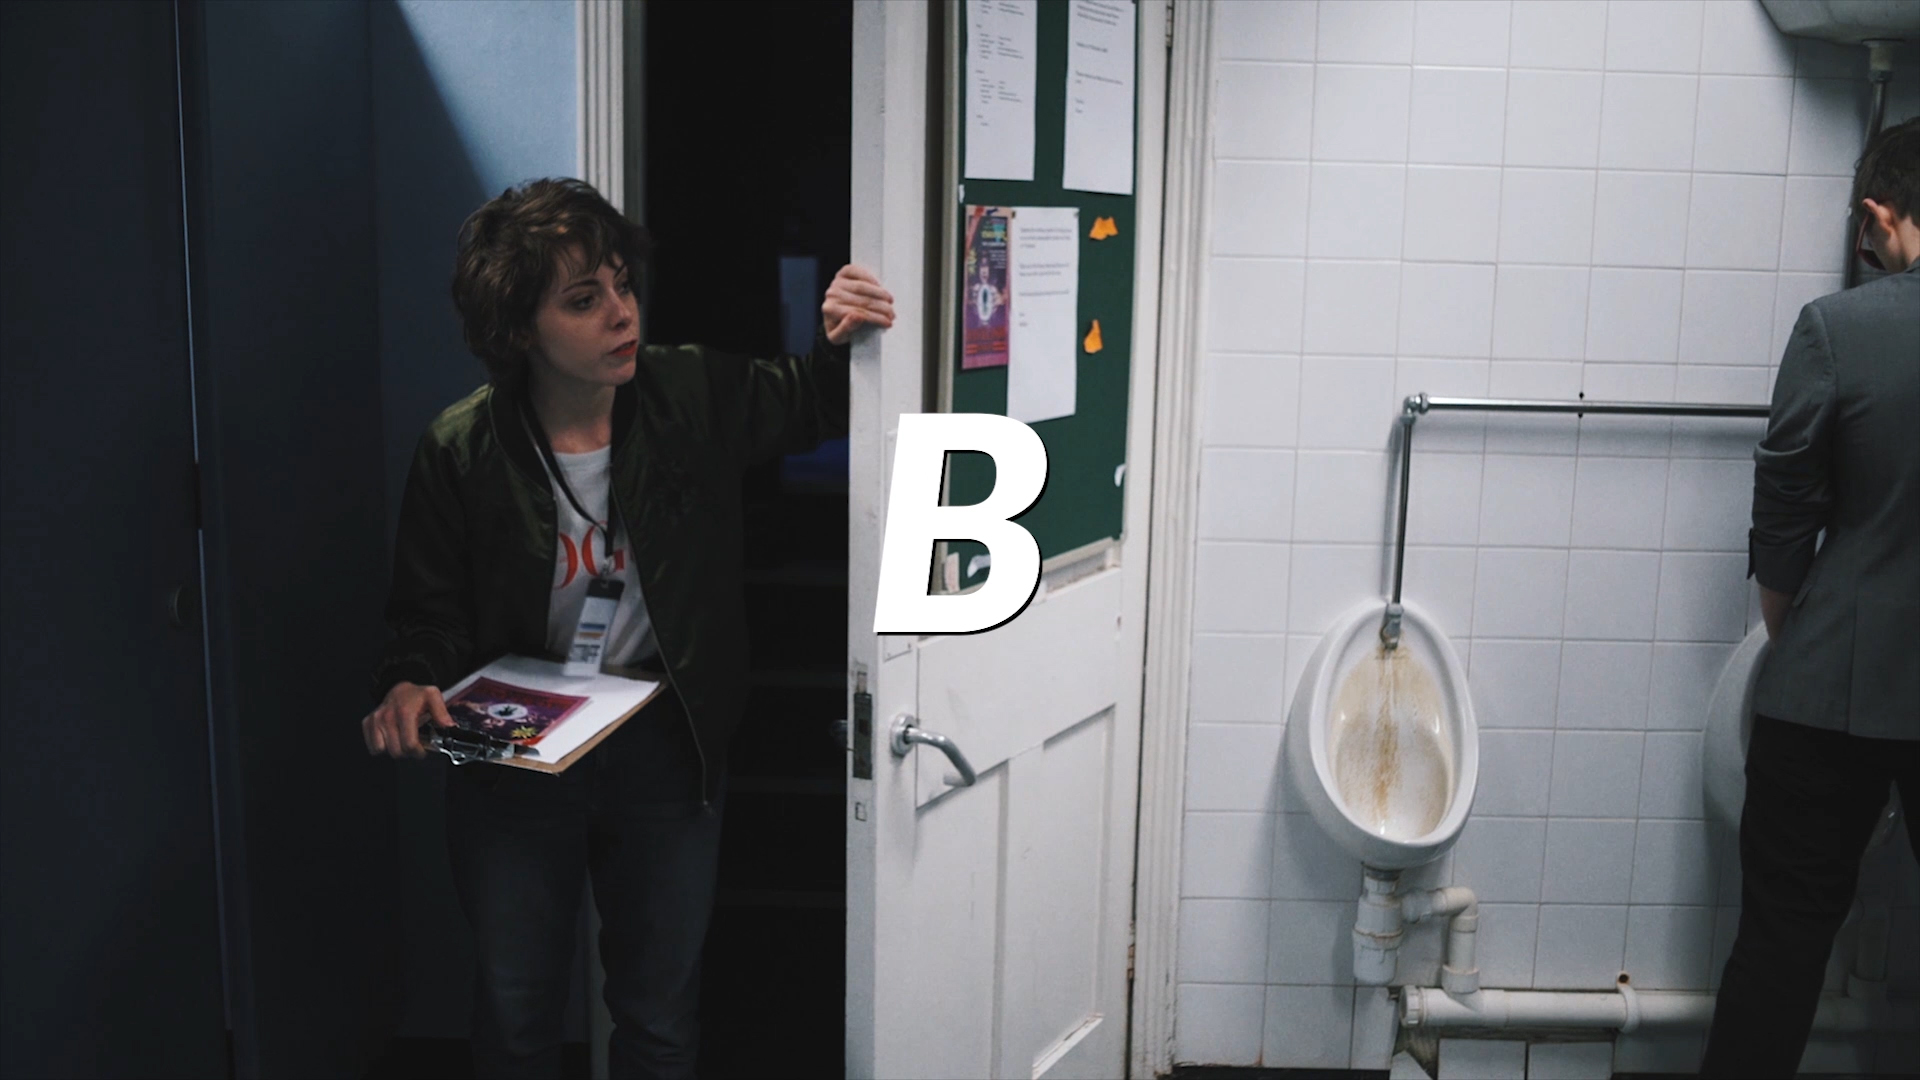
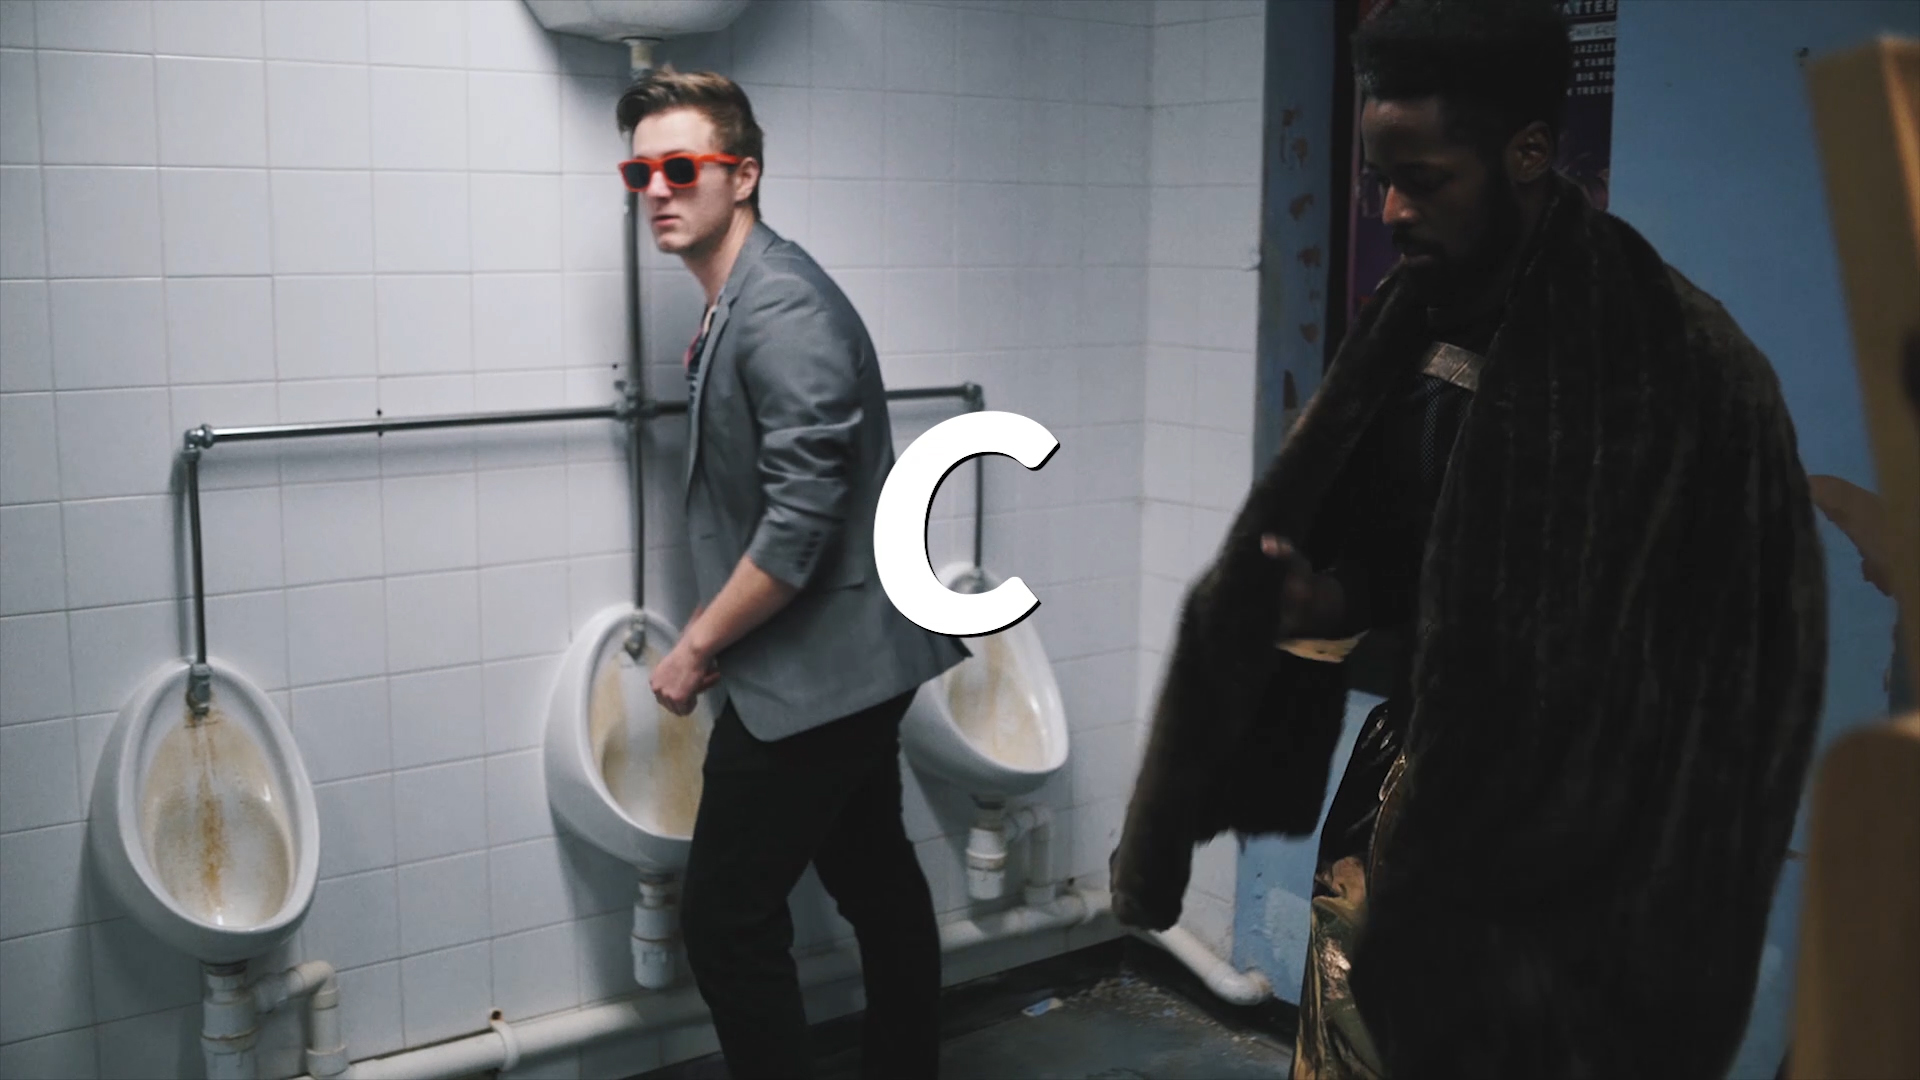
Jenny commands the two wrestlers to get ready for the fight, so the camera can follow this by panning over to the wrestlers.
We have three shots in this one movement; A, B, and C. It establishes spatial connections between characters, gives us the geography of the scene, and every move has a motivated command.
This helps create a natural flow in a scene. If we cut all the time, we are breaking up the scene, and sometimes it prevents immersion. By keeping with the characters, and seeing the room, we gather a lot more information in the same duration of time.

Finally, let’s talk about using this technique in the ultimate cinematic feat: the “oner”.
The oner: also known as a one take scene or a long take. Basically, the camera doesn’t cut for an extended amount of time, and instead, it moves around the scene with the characters and the action.
We haven’t done a oner yet, so instead, here is Indiana Jones.
At first you might look at this scene as one massive camera shot, but it’s actually the same as the examples we showed earlier. The scene is broken down into key positions.

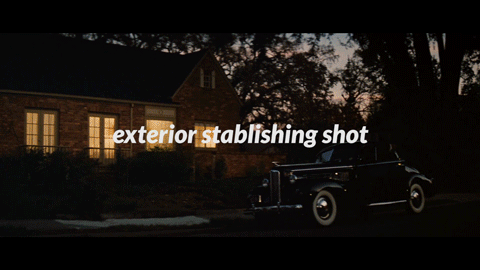
Ext establishing shot
Wide shot at the door
Wide shot in the living room
Wide shot when packing the suitcase
Medium close up on Marcus
Wide shot of Indy finding his gun
Medium wide of Indy & Marcus
Close up of the gun
Medium shot of the gun thrown into the suitcase
Apart from the close up on the gun and the exterior wide establishing shot, the rest of the scene is covering these key positions and simply moving from one mark to the next.
We made a video essay on Raiders of the Lost Ark if you want to see how else this film gets it so right. I’d say this is the best film ever, but prove me wrong in the comments below!
So, next time you feel you have too many shots in your shot list, or want to give your film a little more cinematic movement, try connecting some shots together.
Connect your shots - connect your story - connect to your audience.
This video was Sponsored By
🚀 http://bit.ly/rs-aspect - Give your video a clean look with Aspect by RocketStock. It features over 200 logo reveals, intros, lower thirds, overlays, icons, and transitions.
🎵 http://bit.ly/pbtfl-blissbay - Click here to download this episode's track. Check out Premiumbeat.com to discover a huge range of exclusive royalty free music!
DISCLAIMERS:
Some of these links are affiliate links, if you purchase gear via these links The Film Look will receive a small commission, but there will be no additional cost to you. Thank you!