Our FOOTSTEP SOUND PACK is now on sale!
The Film Look FOOTSTEP SOUND PACK features over 200 sounds, on 9 surfaces, in 6 types of footwear, giving you a plethora of available sound types to choose from when mixing the sound for your film.
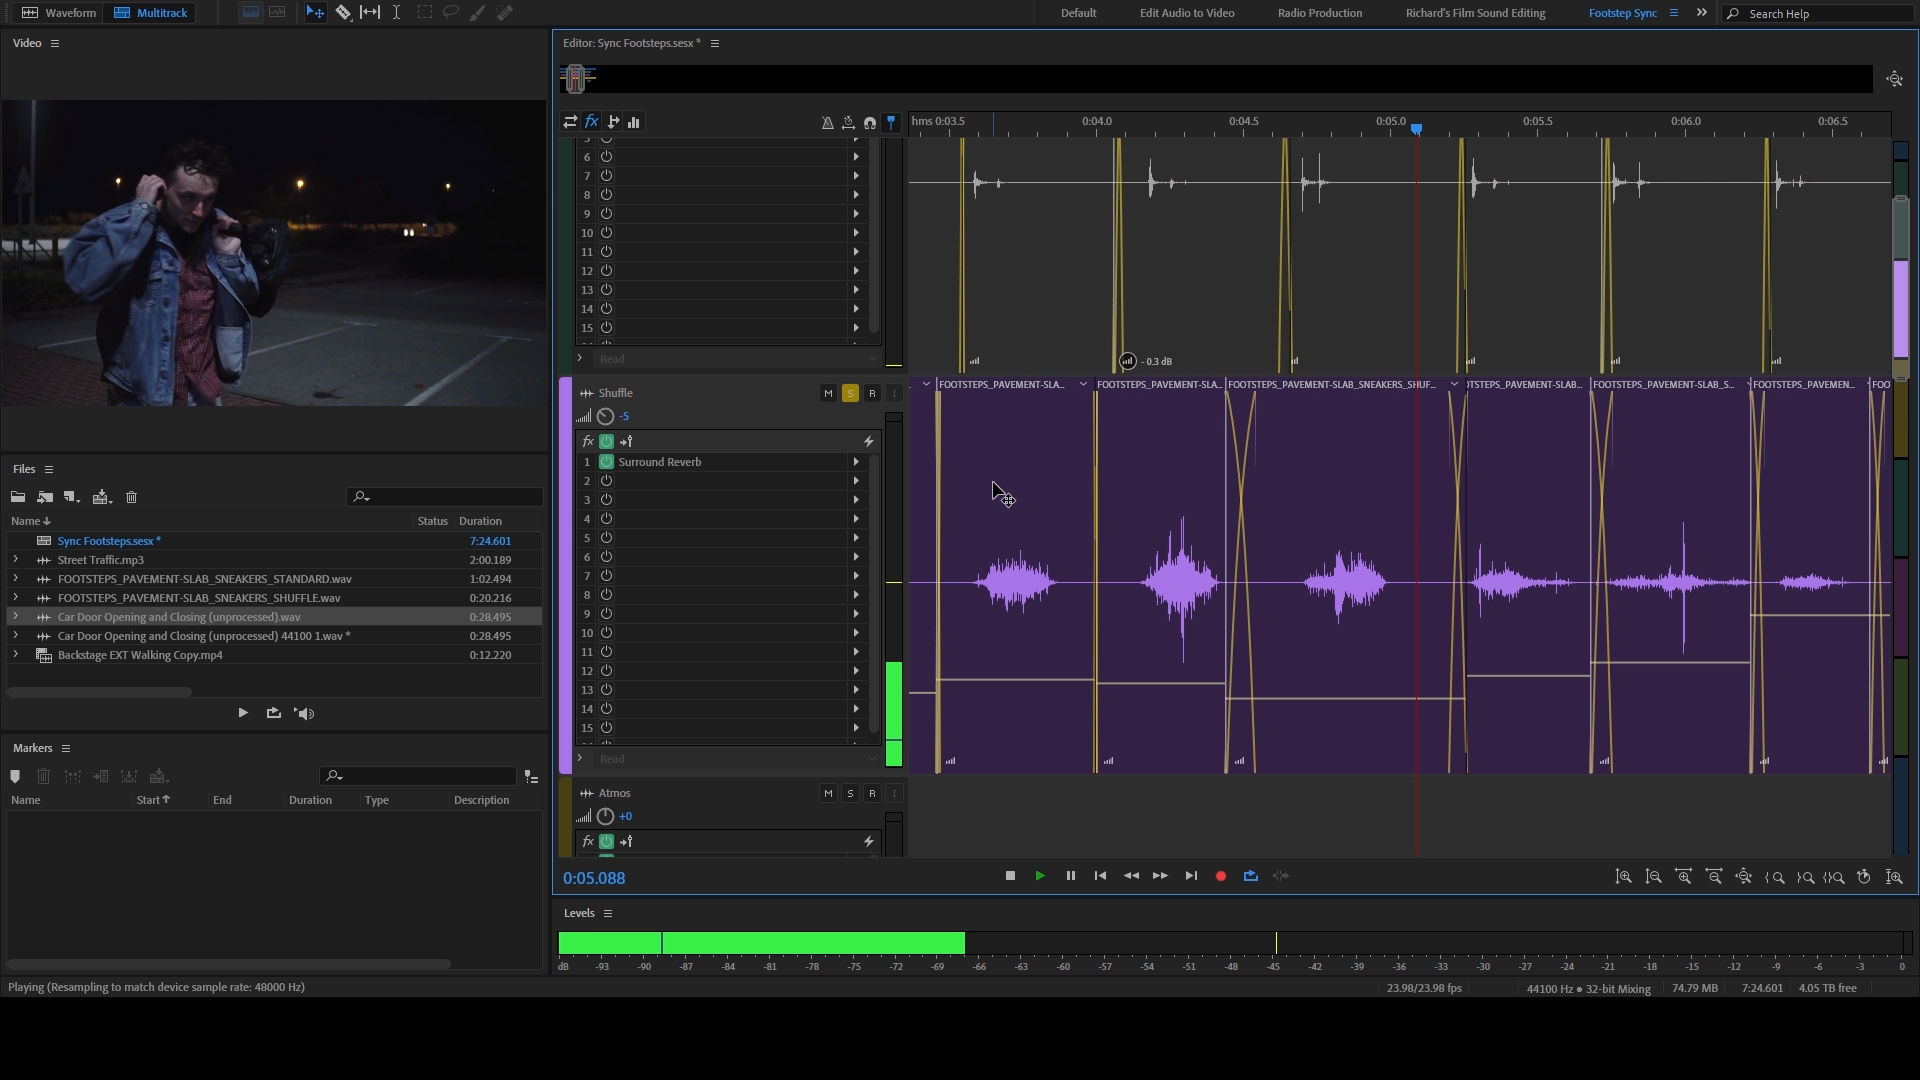
All sound effects have been recorded in a low noise environment giving you a clean, loud sound for every single footstep. They have also been recorded as dry as possible, meaning there is no reverb baked into the sound so you can add reverb in the mix to replicate the scene on screen perfectly.
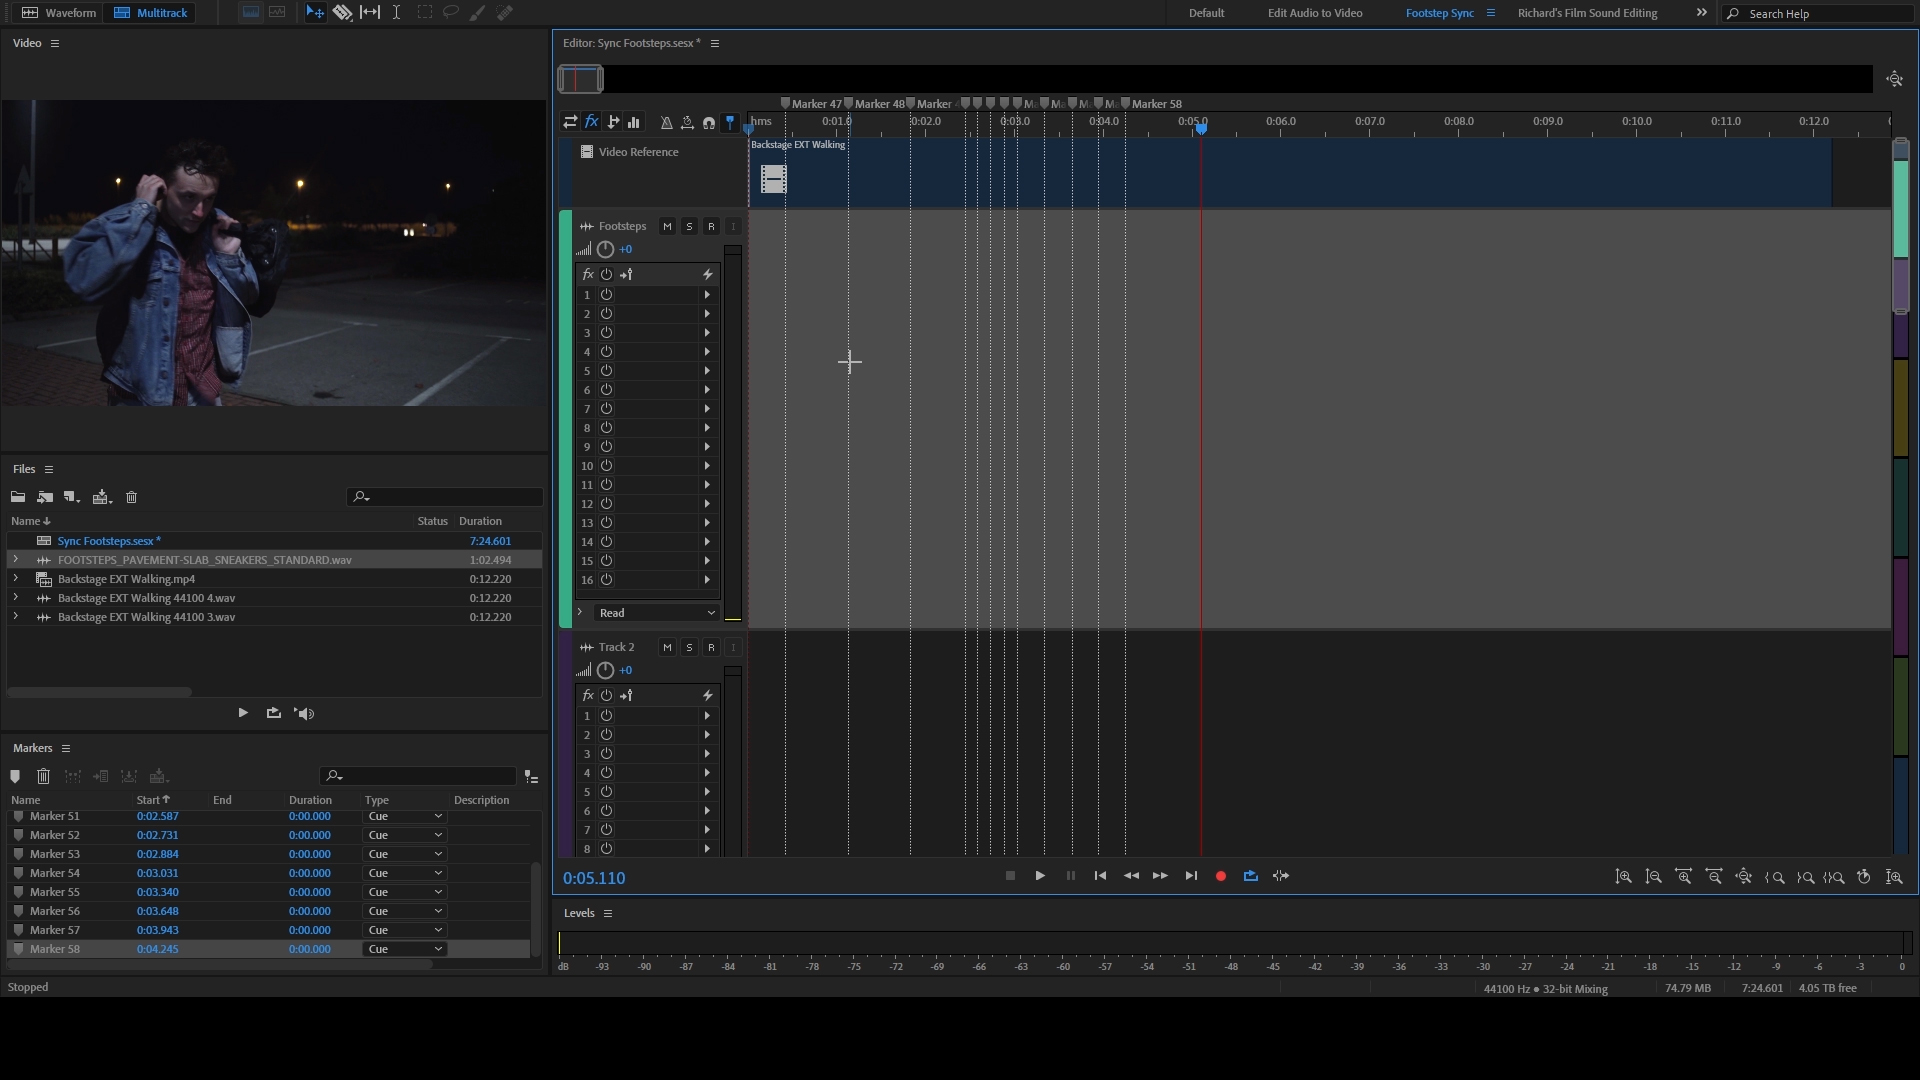
These sounds have been exclusively recorded as “singles”, meaning each step is completely individual so you can cut in and match up the steps without having to worry about creating more space between the sounds.
Every single set of footwear of every single surface has multiple performance types: light, standard, heavy, heel-to-toe, shuffles, and jumps. These have been created so you can match the performance of the actors on screen.
Is your character walking? Standard is all you will need. Are they running? Maybe go for heavy to match the high impact!
As well as creating this pack, we have also create a short series of videos showing you how we setup and recorded the footsteps, so if you want to create your own library of footsteps, go ahead!
The first video in the series shows you how to setup a DIY Foley Pit: a small pit for dumping your surface materials so you can record in messy stuff in a clean way!